My new favorite lunch is: organic whole wheat tortilla, tons of fresh organic spinach, some cheese, tomatoes….microwave it for approximately 40 seconds..then add a vinaigrette of fat free organic plain yogurt, olive oil and balsamic vinegar! Wrap it up like a giant burrito…and yum!!!
********And don’t forget to enter my latest giveaway*********
So the other day I went to Whole Foods Market (gotta love that place!) and in the bulk section, I found organic 7 grain cereal. It was only thirty-nine cents a pound! It looked perfect for making multigrain bread.
Of course, I wanted to use my bread machine, so I used the recipe from the bread machine recipe book..I figured I would start with that and see how it turned out….well, I think it turned out really well.
As soon as it came out of the oven, we all wanted a piece, which I think is always a mistake..it seems like those types of bread always have to sit for a bit…at least twenty minutes.
For a wedding gift, almost 15 years ago, we received a past maker. Honestly, I used it ONCE in all these years….but recently I’ve been giving it another try. The one time I tried it, I didn’t have much luck..but hey, it’s been 15 years..why not give it another try!
So, the other night we had some left over sweet potatoes..and they were delicious and I thought..what can I do with one sweet potato? Well, why not make some sweet potato gnocchi? My daughter loves gnocchi…..so I got out the pasta maker and within an hour we had fresh pasta!
It wasn’t hard at all….a bit noisy, but not hard at all! And hey, who doesn’t love fresh pasta?
I’m sure you could make it even without a pasta maker…but I took the easy route. The recipe was five ingredients: 1 egg, 1 tbsp. olive oil, 4 cups of flour, 6 ounces of water, and the sweet potato….that’s it…I put all the ingredients into the pasta maker and it mixed them all up and out came gnocchi! And of course, I had to make a loaf of homemade french bread!
I think I’m a believer in fresh pasta. This might become dangerous!
Lately, I’ve been cooking a meal every now and then for a friend in need. It is hard to come up with something that you think someone will like…and that can easily be reheated or cooked without any fuss. Also, you never know what the person may like or dislike. And since we are vegetarian, it always throws an extra bit of difficulty into the mix. So far, I have cooked lots of soup, upside down pizza, macaroni and cheese, vegetable pie…and a few others that I can’t recall.
Today I decided to cook one of my favorite recipes. It is from Rachel Ray….”You won’t be single for long” vodka cream pasta. It is reasonably easy to make and incredibly delicious and filling. It is definitely a “comfort” food.
Along with the pasta dish, I love to make bread..but I don’t love all the time it takes. So, I love my bread machine. I usually make rolls in my bread machine…..but I have been trying to experiment with different types of bread. One of my first experiments is making crusty french bread. I got the recipe from the BreadExperience.com site. The recipe worked out great and it was sooo delicious!! Though, it did take a long time….so much for the bread machine saving time…..lots of waiting and rising and more waiting and rising. But it was worth it..though it tasted like french bread, it had more of a sourdough texture…I am going to try it again!!! This time I think I may purchase one of those LaCroche things!
There will be a salad, but then there will also be dessert….just good old chocolate chip cookies. I mean, what is better than a good ol’ chocolate chip cookie made from scratch! To me, that is heaven! When I make chocolate chip cookies, I just use the Nestle Tollhouse recipe. It has been my favorite.
Here is the recipe for the pasta:
“You Won’t Be Single for Long” Vodka Cream Pasta
Recipe courtesy of Rachael Ray
INGREDIENTS
1 tablespoon extra-virgin olive oil, once around the pan in a slow stream
1 tablespoon butter
2 cloves garlic, minced
2 shallots, minced
1 cup vodka
1 cup vegetable stock
1 can crushed tomatoes (32 ounces)
Coarse salt and pepper
16 ounces pasta, such as penne rigate
1/2 cup heavy cream ( I actually use 1/2 1/2)
20 leaves fresh basil, shredded or torn
Heat a large skillet over moderate heat. Add oil, butter, garlic and shallots. Gently sauté shallots for 3 to 5 minutes to develop their sweetness. Add vodka to the pan (3 turns around the pan in a steady stream will equal about 1 cup). Reduce vodka by half, this will take 2 or 3 minutes. Add veggie stock, tomatoes. Bring sauce to a bubble and reduce heat to simmer. Season with salt and pepper.
While sauce simmers, cook pasta in salted boiling water until cooked to al dente (with a bite to it). While pasta cooks, prepare your salad or other side dishes.
Stir cream into sauce. When sauce returns to a bubble, remove it from heat. Drain pasta. Toss hot pasta with sauce and basil leaves. Pass pasta with crusty bread.
And here is the recipe for the bread machine crusty french bread!
This French Bread recipe is from Linda Rehberg’s and Lois Conway’s The Bread Machine Magic Book of Helpful Hints. According to the authors, this method produces a wonderful loaf of bread that is comparable to the ones baked in France.The dough for this bread is made in the bread machine and then can be baked in a LaCloche for a crust that is thin and crispy.The recipe has both sets of directions, using the La Cloche and not using it.
Ingredients: (medium-size loaf)
1 1/8 to 1 1/4 cups Water
3 1/2 cups unbleached white flour
1 1/2 teaspoons Salt
2 teaspoons Active Dry Yeast
Directions:
1. Place dough ingredients in bread pan, select Dough setting, and press Start.
2. When the dough cycle ends, the machine will beep. Set a time and allow the dough to rise 1 more hour. Open the machine, punch down the dough, set the time again, and let dough rise another hour in the machine.
Turn off bread machine, remove bread pan, and turn out dough onto a lightly floured countertop or cutting board. Form into a smooth, round ball then flatten it with your hands.
Note: If you want to bake your bread in a La Cloche, follow the steps listed under Variation. If you prefer not to bake your bread in a La Cloche, follow steps 3 – 5.
3. Place a clean kitchen towel (not terry cloth) in a round wicker basket that’s at least twice the size of the dough. Dust the towel liberally with flour. Place the round dough in the center of the basket. Place basket in a warm place and let dough rise, uncovered, about 45 minutes until doubled in size.
4. Gently turn dough out of basket upside down onto a greased baking sheet. With a very sharp knife held almost parallel to the loaf, carefully slash the top of the dough at sharp angles in a # pattern.
5. Preheat oven to 450°F. Carefully place a small pan on the floor or bottom shelf of the oven. Add at least 1 cup boiling water to the pan. Place dough in oven and bake for 20 minutes. Remove from oven and place on cake rack to cool 1 hour before slicing. To preserve the crisp crust, do not store in plastic wrap or bag. Bread can be loosely covered or left out for up to 2 days before it dries out completely.
VARIATION: To make French bread with a crust so thin and crispy that it crackles when you remove it from the oven, try baking this bread in a La Cloche clay cooker.
1. Omit steps 3 through 5. Liberally cover the base of the La Cloche with cornmeal and place the rounded dough onto the base.
2. Slash the dough as indicated in step 4 and place in La cloche (without lid) to rise. Cover it with a clean towel (again, not terry cloth), or use plastic wrap, then place it in a warm oven to rise until doubled in size, about 30 to 45 minutes.
3. While the dough is rising, soak the lid of La Cloche upside down in a sink of water. (Cushion the handle with a dishcloth or sponge.)*
* The manufacturers of La Cloche do not recommend soaking the lid before baking because the absorption factor of stoneware is less than 1 percent. However, the authors preferred the way the bread turned out when they soaked the lid so we decided to try it this way as well.
4. For a dark crust, preheat the oven to 450°F. Place the wet lid over the dough; bake for 30 minutes. Remove the lid and bake for another 10 to 15 minutes, until dark brown.
5. For a lighter crust, preheat the oven to 450°F. Place the wet lid over the dough; bake for 15 minutes. Reduce the heat to 400°F and bake for another 15 minutes. Remove the lid and bake for 8 to 10 minutes, until golden brown.
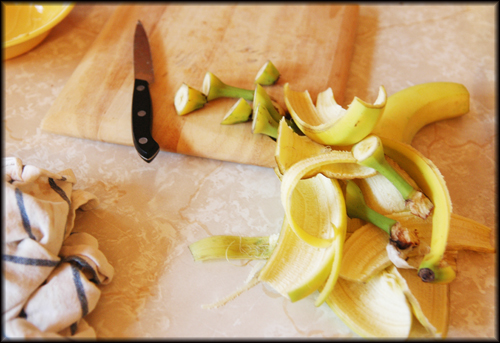
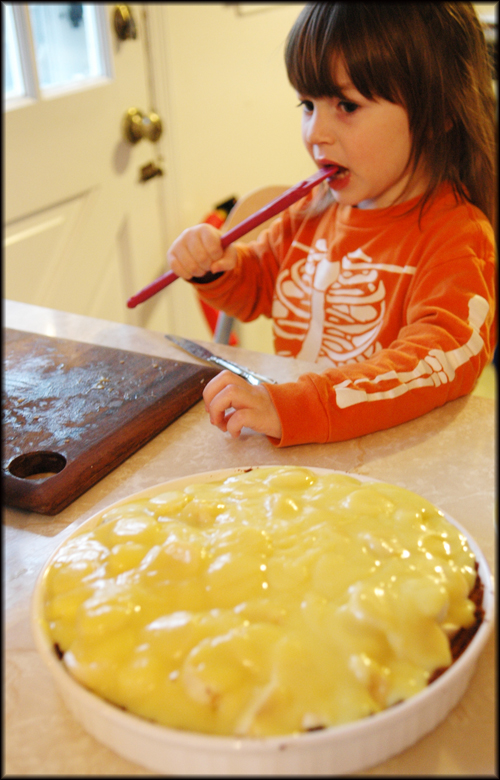
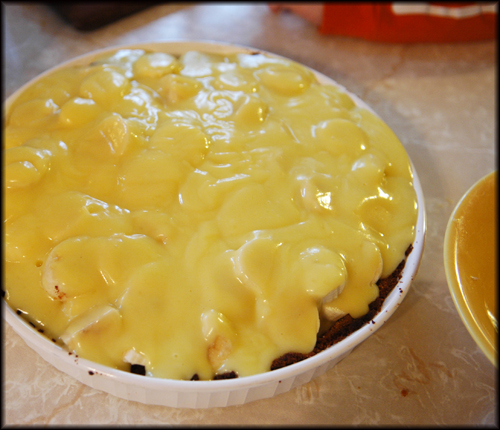
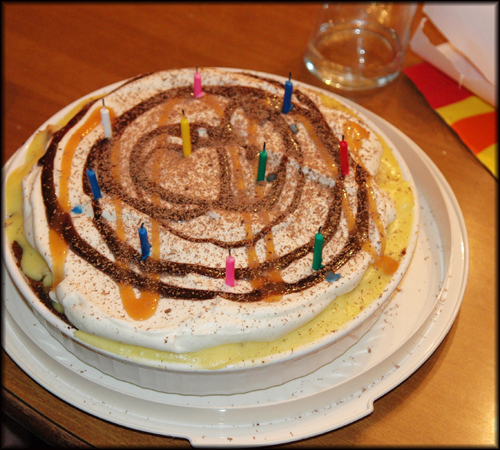
I am not a huge Banana Cream Pie fan..but some people in my family are…so it is a tradition to make it ONCE a year….The recipe is quite complicated. The first time I made it, I tried to make the caramel drizzle sauce..but I ruined my sauce pan. Now I just buy caramel sauce.
The other problem is that it only stays fresh for about two days….so you must eat it ALL within two days…not an easy task!
It requires about a dozen bananas!
I got the recipe on Good Morning America. It is by Emeril Lagasse. The link to the recipe can be found here: Emeril’s Banana Cream Pie Recipe.
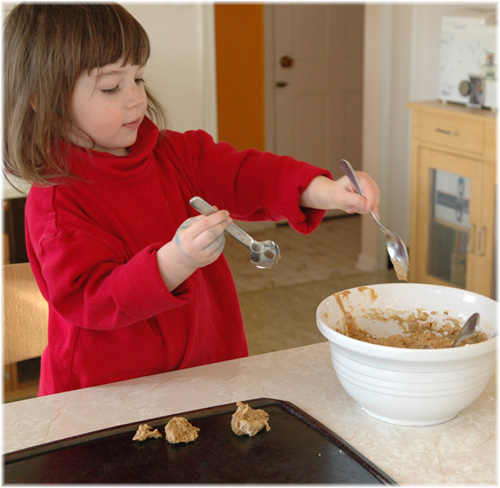
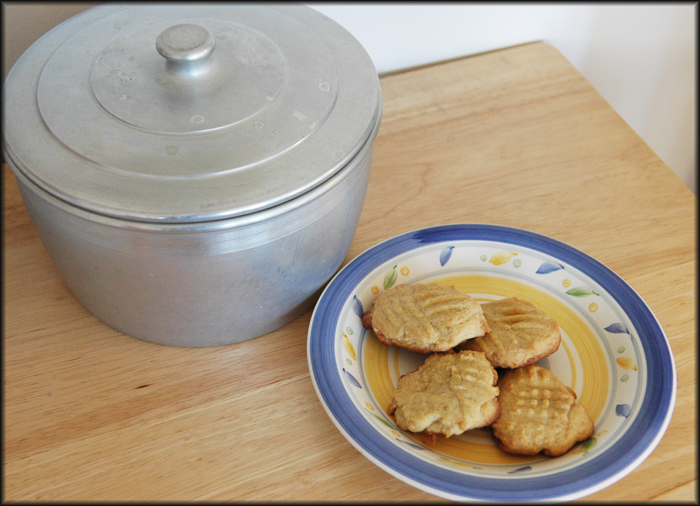
Nostalgia….longing for something past….do you ever get that feeling……longing for the past? I guess with all that snow I got that feeling…I hadn’t made my grandmother’s brown sugar cookies in a long time…and I finally made them…..after playing all day in the snow….
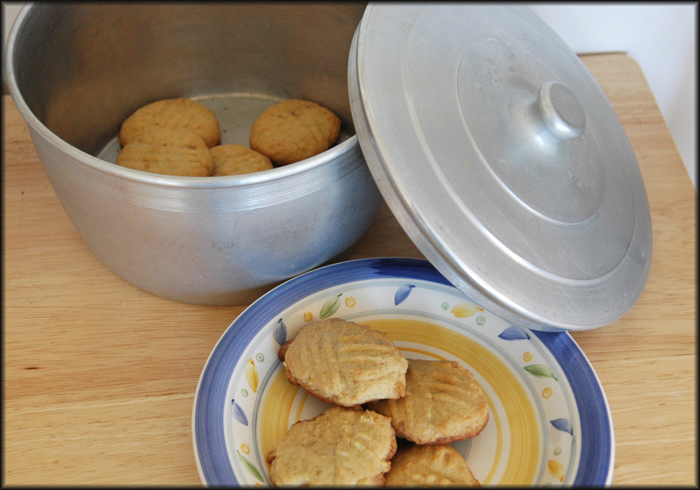
Growing up, my grandmother’s brown sugar cookies were my favorite. My grandmother only made three types of cookies…chocolate chip, vanilla and brown sugar. Whenever she made cookies she would put them in her cookie tins and they would be in her dining room…waiting for you….as you came into her house. Well….I actually have my grandmother’s dining room furniture and I have her cookie tins…..I love those cookie tins…my grandfather made them….they are a set of four…they are one of my most treasured items. Unfortunately, the cookie tin is already almost empty! But here is the recipe. It is a very simple recipe, but delicious…
Nana’s Brown Sugar Cookies
¾ cupbrown sugar
¾ cupbutter
1egg
2 cupssifted flour
1 tspbaking soda
½ tspsalt
1 tspvanilla
Cream together brown sugar and butter.Add beaten egg. Add rest of ingredients.Add walnuts if desired.Roll into balls and place on greased cookie sheet.Use fork to create criss cross design on each cookie.
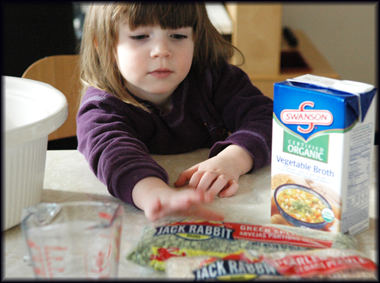
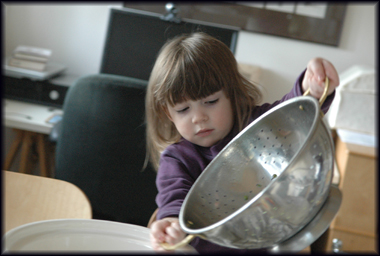
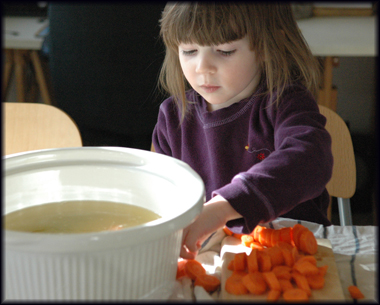
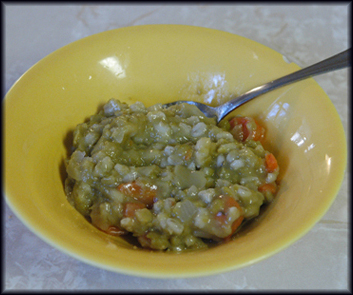
So yesterday I decided to make split pea and barley soup. I haven’t made this soup in about twelve years. I used to love making many types of soup when I was a vegan. They were inexpensive, easy and hardly ever contained any dairy, so I didn’t have to worry about dairy substitutes. I knew the kids would be a bit hesitant about this soup, so, I decided to get River involved. I figured if she helped cook it and got all excited about it..she would love eating it! So, we went to the store and got all the ingredients and got started!
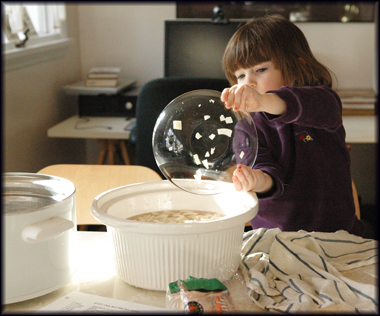
I decided to make it in the crock pot, so that I wouldn’t have to worry about it on the stove all day. River loved helping…she helped cut and dice and get everything ready! She loved putting all the ingredients into the big pot. She said everything looked and smelled delicious!
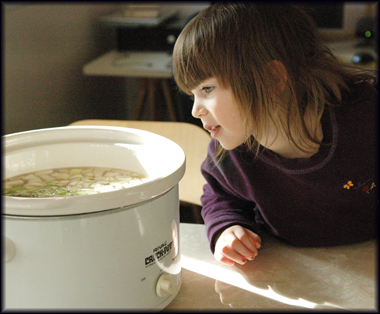
This particular soup is incredibly hardy and so easy to make. The best part is that the barley and split peas don’t have to be soaked the night before….you just throw it all into a pot and wait about two hours!
So, did everybody love it! I wish I could say yes…..but the answer is no! River took one look at it and said, “Yuck!” Same with Tuesday. The only one who ate the whole bowl was Quinn…and that was only after I promised to take him to the bookstore that evening if he ate the whole bowl! Oh well, I enjoyed it!
One of my favorite recipes is curried tofu with vegetables and rice. I learned how to make this recipe when I was in college. I worked for an elderly couple in Princeton, NJ. Part of the job required cooking. I had never cooked in my life..I still lived in the dorms at the time and so the whole cooking thing was new to me! One day, the woman told me she wanted curried chicken for dinner. Well, I had no idea how to make it, so I quickly asked the woman who worked before me if she could show me how to make the recipe….It turned out deliciously….
I have found other recipes like it…but never one exactly like it..and I don’t even know if I ever made it correctly..but I love it!
When I became a vegetarian, I started making it with tofu and I think it is even better without the chicken. But…. I haven’t had chicken in about 21 years..so what do I know….so if you eat chicken…and don’t like tofu..use chicken.
Then, when I was living in a small studio apartment in Lawrenceville, NJ….I had a great downstairs neighbor named GiGi…she taught me how to make a delicious rice dish..which I always thought went great with the curried tofu.
So, I wanted to include the recipe with this post..but I never have written down the recipe before….it has always been in my head…so don’t be afraid to tweak anything a bit if you think you need more or less….
Curried Tofu with Vegetables and Rice
2 Tablespoons Olive oil
1 Onion finely chopped
3 Fresh tomatoes or canned (15 oz.)
Yogurt low or non fat plain (I buy 32 oz, but only use about 20 oz)
1 green pepper finely chopped
5 greenish bananas sliced
2 teaspoons curry
2 blocks of extra firm tofu
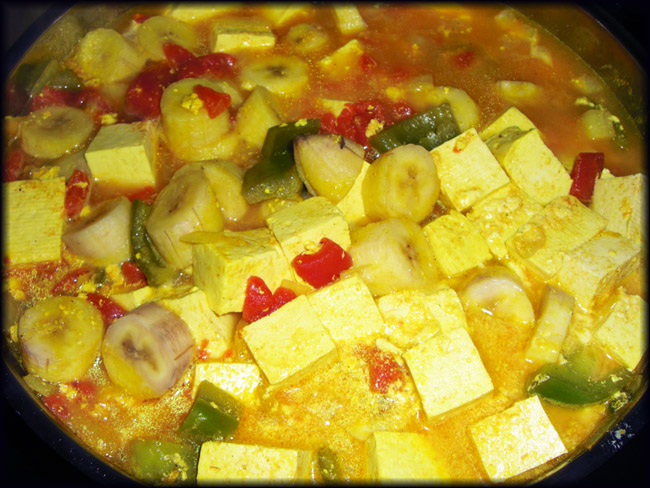
Put olive oil in pan and add onion.Cook til slightly softened.Add pepper.Continue to cook.Add tomatoes.Then add yogurt and blend well.Add curry (if you like more curry, add more.)
Drain tofu and cube.Make sure you don’t make the cubes too small because then they will crumble while cooking.Add tofu to mixture.Carefully stir, making sure not to crush tofu.
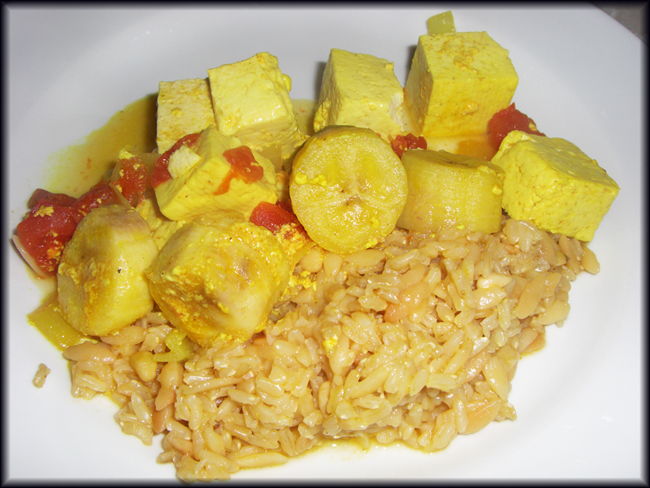
Let simmer for about 20 minutes.Add sliced bananas.The bananas should be a little green, otherwise they will fall apart and be too sweet!.Simmer for 10 more minutes.
Brown Long Grain Rice with pine nuts
In a saucepan, put 2 teaspoons butter.Add a shot glass full of pine nuts. (Don’t ask me why, but I’ve always measured pine nuts with a shot glass!).Add ½ cup orzo.Cook until browned.
When browned, add 1 cup brown long grain rice and 3 cups vegetable broth.Bring to a boil, then cover and reduce heat.Cook for about 30-45 minutes or until all liquid is absorbed. I was always told never to disturb the rice while it is cooking! It needs no stirring until it is all done and ready to serve!
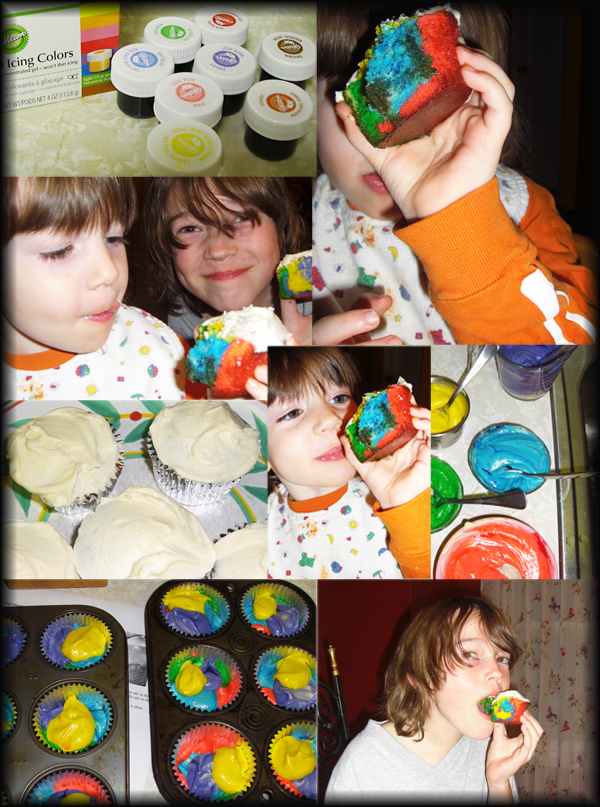
I saw these rainbow cupcakes on a couple of blogs…you can also make a layered cake. I have been wanting to make them forever! I finally got around to it yesterday. I did them secretly…so my children couldn’t see what I was up to..I wanted them to be a suprise. I didn’t want to use a boxed cake mix…so I hunted around on the internet for a good cake/cupcake recipe. I think I found a winner! These were the best tasting cupcakes!! I haven’t had a cupcake in a long time…and these cupcakes were incredible! And so easy….especially if you just make the normal recipe.
First, you have to buy the Wilton Icing colors. They come in special little containers. I got them at Michael’s..you can buy them individually or in sets. You can’t get these bright colors with any other type of food coloring. They are just so bright and vivid! A lot of fun.
Basically, you make the recipe and then divide the batter up into as many colors as you want to use….then put a little bit of food coloring into each bowl of batter. Mix well…..and then dollop them into the cupcake molds. You could also make a multi-layered cake….either each layer could be a different color or just use the same dollop method to put the batter into the two cake tins.
I also found an incredible buttercream icing recipe! I found both recipes on allrecipes.com. I love that site. I did twick both recipes a bit, according to some comments that had been made about each.
My children loved biting into them and discovering the tie-dyed effect!
Simple White Cake
Ingredients
1 cup white sugar
1/2 cup butter
2 eggs
2 teaspoons vanilla extract
1 1/2 cups all-purpose flour
1 3/4 teaspoons baking powder
1/2 cup milk
Original Recipe Yield 12 cupcakes or 1- 9×9 inch pan
Directions
Preheat oven to 350 degrees F (175 degrees C). Grease and flour a 9×9 inch pan or line a muffin pan with paper liners.
In a medium bowl, cream together the sugar and butter. Beat in the eggs, one at a time, then stir in the vanilla. Combine flour and baking powder, add to the creamed mixture and mix well. Finally stir in the milk until batter is smooth. Pour or spoon batter into the prepared pan.
Bake for 30 to 40 minutes in the preheated oven. For cupcakes, bake 20 to 25 minutes. Cake is done when it springs back to the touch.
Nutritional Information
Amount Per Serving Calories: 209 | Total Fat: 8.9g | Cholesterol: 56mg
Buttercream Icing
Ingredients
1/2 cup butter, softened
2 teaspoon vanilla extract
3 cups confectioners’ sugar
2 tablespoons milk
Directions
In a large bowl, cream together the butter, shortening, and vanilla. Blend in the sugar, one cup at a time, beating well after each addition. Beat in the milk, and continue mixing until light and fluffy. Keep icing covered until ready to decorate.
Nutritional Information
Amount Per Serving Calories: 181 | Total Fat: 9.8g | Cholesterol: 13mg


