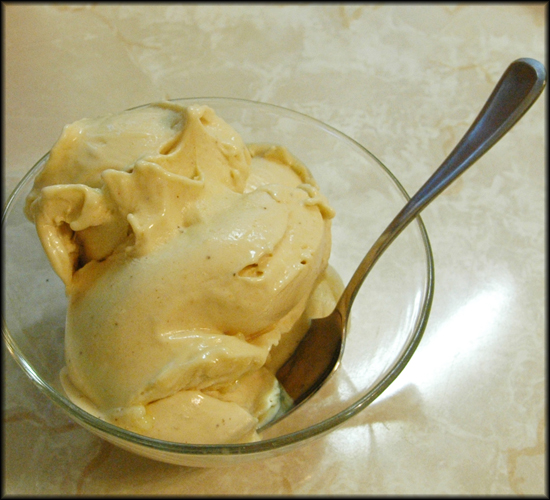
Banana Ice Cream with one ingredient…….

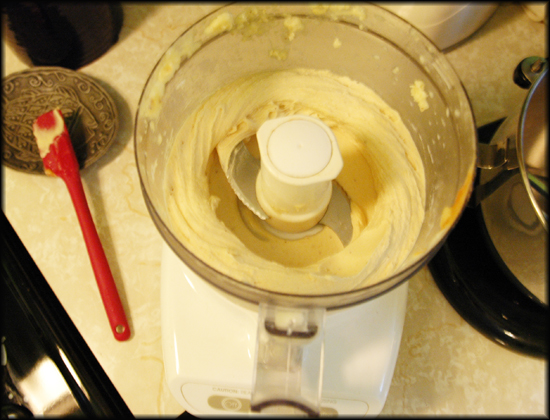
Okay..this could be dangerous……banana ice cream using only bananas!  Recently…while bopping around the Apartment Therapy website….I saw a link to the the kitchn website about how to make one ingredient ice cream using frozen bananas!!  I got so excited and how to try it right away.  I am always freezing bananas that are about to go bad…I have a freezer filled with bananas right now!  Normally, I make banana bread out of them…but that is getting boring…..so I gave this a try and it was awesome!!

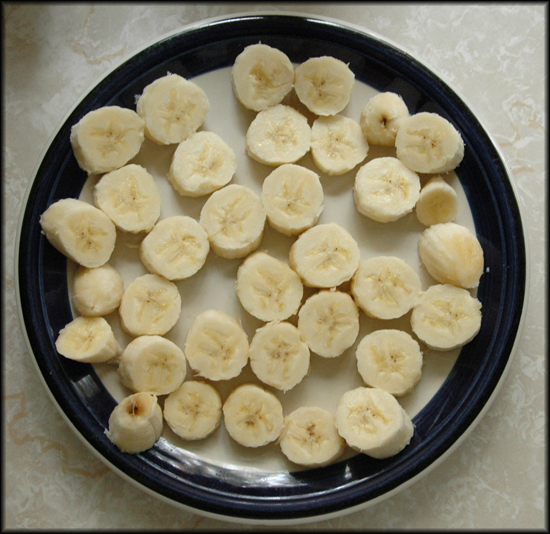
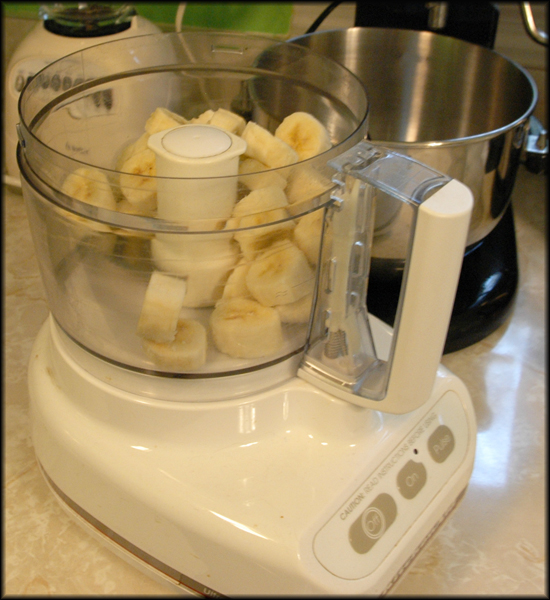
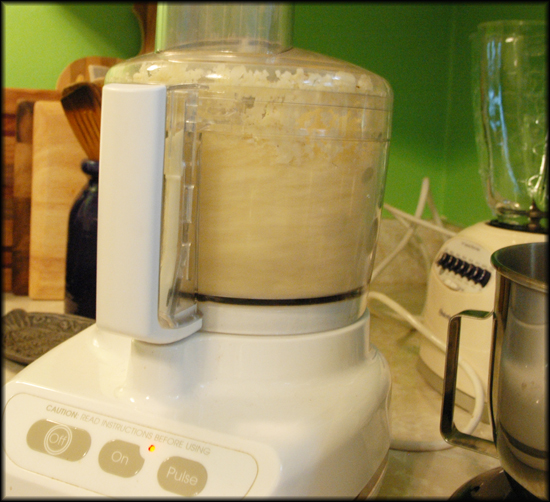
All you do is cut the bananas up…freeze them for at least 2 hours…and then put them into the food processor..that is it!  The website suggested adding some peanut butter..so I threw some of that in there..and it was delicious….on the site they talked about the “moment” it turns to ice cream..and they were right…it is in the food processor…getting chopped up..and then suddenly…ice cream!  Happy Weekend!!

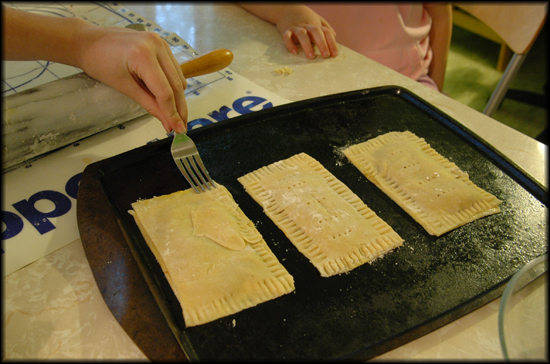
Homemade poptarts…..

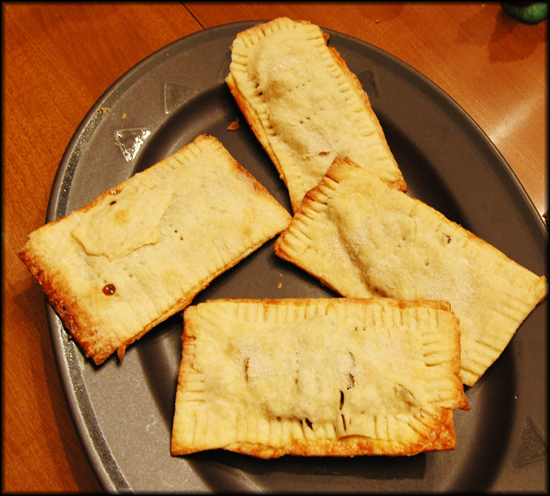
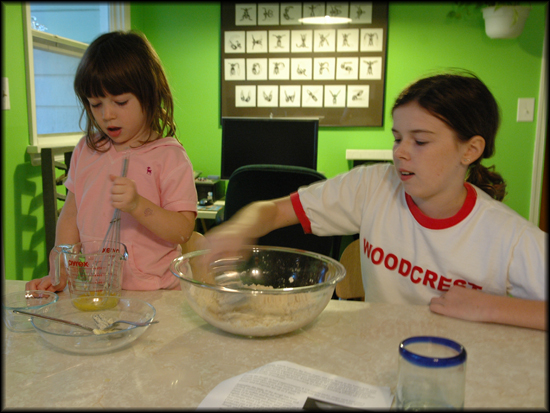
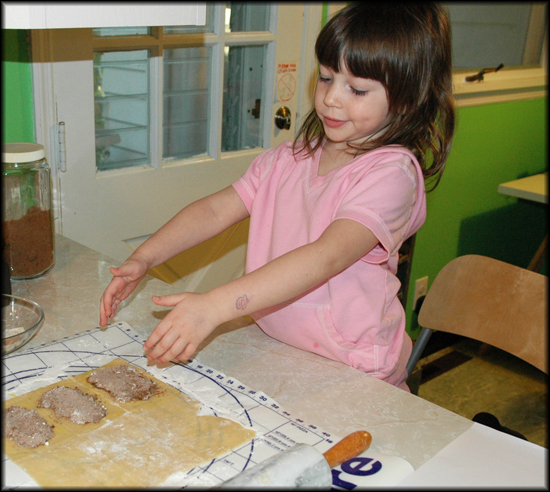
I read a blog called This Mamma makes Stuff and  once I saw this post about homemade poptarts…I knew I had to make them!  The original homemade poptart recipe that Carrie used was from  smitten kitchen.  (I’m not going to include the recipe..since it is quite long and involved..but if you click on the smitten kitchen link, you’ll find it!)  So, this weekend, we gave it a try…it was a lot of fun and really easy.  For fillings, we made strawberry jam (homemade from my mother-in-law!), chocolate and cinnamon brown sugar!  They were incredibly delicious.  They didn’t turn out at pretty as the ones from the other websites…but that’s okay..we had so much fun making them.  If I make them again, I might try a different dough recipe….and I’ve been told that I should also put icing on them!

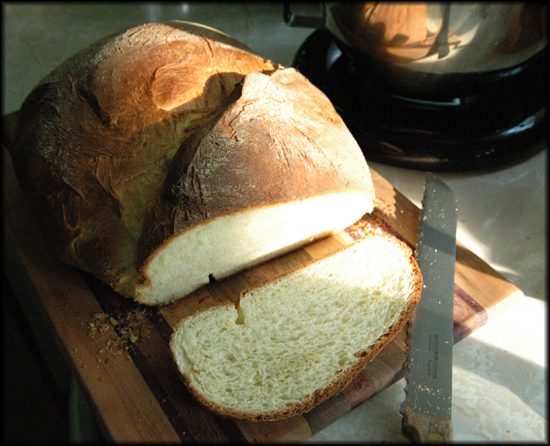
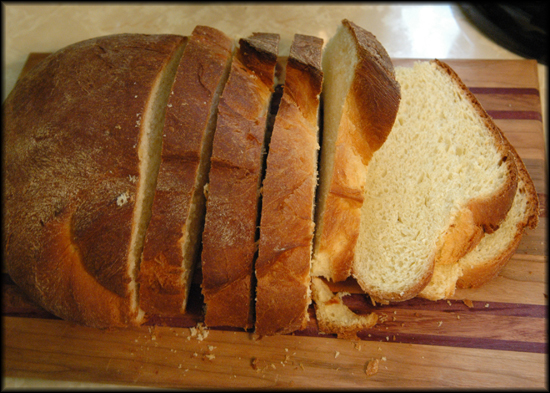
Brioche in the bread machine…..

So, this week I decided to try to make a sweet bread.  I had never had brioche before, so I had nothing to compare the recipe to.  I found a recipe on Allrecipes.com…which is a site I love for recipes.    There were some suggestions for tweaking the recipe a bit…..so I gave it a try!  The recipe took a lot of eggs!!  But it made a huge loaf of bread!  While it was cooking, it tasted so delicious!  We were all excited to give it a try while it was still warm out of the oven!

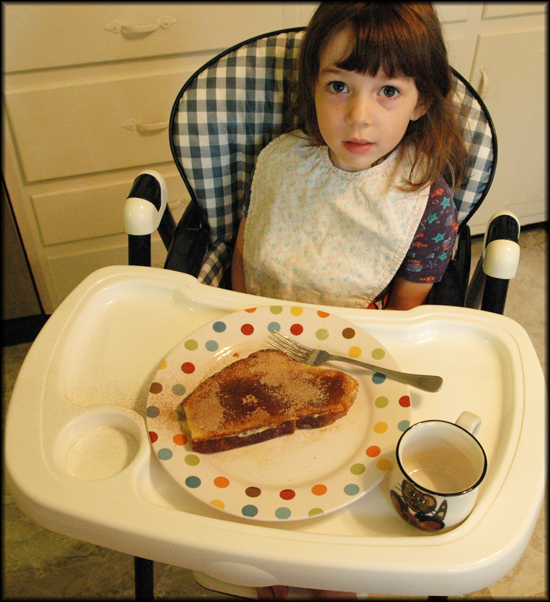
And we weren’t disappointed..it was delicious…warm with a little bit of butter!  The next day Christopher made french toast with it….it was incredibly absorbent..and required a lot more eggs…but delicious and filling!  River ate it the rest of the week for breakfast.  Overall, I loved this recipe and will definitely make it again!

French Brioche

Ingredients

  • 1/3 cup warm water (110 degrees F/45 degrees C)
  • 3 eggs
  • 2 egg yolks
  • ¾ cups butter, softened
  • ¾  teaspoon salt
  • 3 1/3 cups all-purpose flour
  • 1/4 cup white sugar
  • 2 teaspoons active dry yeast

Optional:

  • 1 egg white
  • 2 tablespoons water

Directions

  1. Place the first seven ingredients in bread machine in order suggested by your manufacturer. Select sweet bread, dough cycle.
  2. Turn finished dough out onto a lightly floured board and knead 5 to 10 times. Separate into 2 or 3 pieces. Roll with hands into strips. Braid or twist strips together. Place onto a parchment lined baking sheet. Set aside to rise in a warm place until doubled in size.
  3. Preheat the oven to 350 degrees F (175 degrees C).
  4. Optional:  Whisk together 1 egg white and the water. Brush onto the top of the loaf.
  5. Bake in the preheated oven until deep golden brown, about 20 minutes.

Beer Bread in the Bread Machine…..

Over the weekend, I tried another bread recipe….beer bread.  I have never made a beer bread nor eaten a beer bread, though I have heard many people mention it.  I am not a beer fan..I think even the smell of beer is unpleasant….but I wanted to give it a try….

I actually made two loaves of the bread.  The first time I made the recipe, I used a Belgium wheat beer, which my husband said is delicious.  The second time I made the beer, I used an organic India pale ale….that supposedly has a very strong, bitter taste.  There was a slight difference between the two loaves, but I still thought each was delicious.  My daughter, Tuesday, did not like the second loaf at all…she said it was not nearly as good as the first.  So, when you are making the bread, you do have to consider the type of beer you are using.

But, in general, I thought the bread was delicious and very “robust”….it was a good, thick bread that I thought was perfect for sandwiches.

Basic Beer Bread in a Bread Maker

Ingredients

  • 12 oz. can or bottle of room temperature beer
  • 2 tbsp. vegetable oil
  • 2 tbsp. dark brown sugar or honey
  • 1 tsp. salt
  • 3 cups all-purpose flour
  • 1 packet or 2 1/4 tsp. active dry yeast

Directions

1.  Open the beer and pour it into a bowl. Whisk to get out as much of the carbonation as possible.

2.  Pour the flat beer into the “bread bucket” in your bread machine. Add the oil, flour, salt, brown sugar or honey,  and yeast. You can add the dry ingredients in any order, and there’s no need to stir.

3.  Set the bread machine to run on the “basic” or white bread, dough cycle.

4.  Bake at 375° for approximately 15-20 minutes or until golden brown.

Bread continued…..

So, I looked up a list of different types of bread and I decided I wanted to work my way through it.  I’m mainly interested in breads that I can adapt for my bread machine.  And some of the breads I’m just not interested in…like bagels and things.  So, the first type of bread, on the list, that I made was a baguette.  On the first try, I think it turned out really well.  I really liked the recipe that I used and I thought it was very easy to do…we ended up slicing each loaf in half and making it into baguette pizzas….very delicious and incredibly crunchy on the outside and soft on the inside!  So delicious!
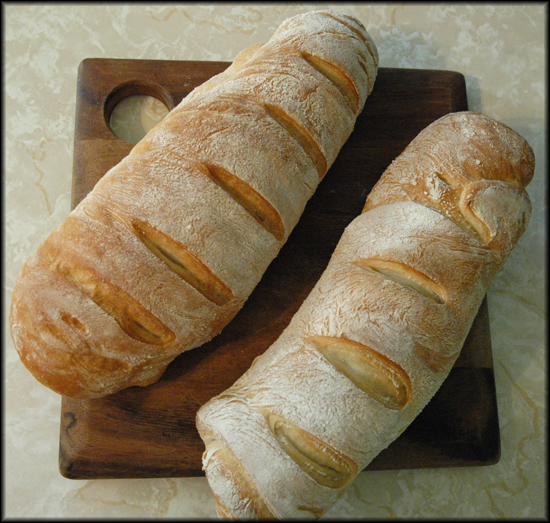
So, here is the recipe:

French Baguettes in the bread machine

Ingredients:

1 cup water

3 cups bread flour

1 tablespoon white sugar

1 teaspoon salt

1 1/2 teaspoons bread machine yeast

Optional:

1 egg yolk

1 tablespoon water

Directions:

1.  Place 1 cup water, bread flour, sugar, salt and yeast into bread machine pan in the order recommended by manufacturer. Select French and Dough cycle, and press Start.

2.  When the cycle has completed, place dough in a greased bowl, turning to coat all sides. Cover, and let rise in a warm place for about 30 minutes, or until doubled in bulk. Dough is ready if indentation remains when touched.

3.  Punch down dough. On a lightly floured surface, roll into a 16×12 inch rectangle. Cut dough in half, creating two 8×12 inch rectangles. Roll up each half of dough tightly, beginning at 12 inch side, pounding out any air bubbles as you go. Roll gently back and forth to taper end. Place 3 inches apart on a greased cookie sheet. Make deep diagonal slashes across loaves every 2 inches, or make one lengthwise slash on each loaf. Cover, and let rise in a warm place for 30 to 40 minutes, or until doubled in bulk.

4.  Preheat oven to 355 degrees F.  (Optional:   Mix egg yolk with 1 tablespoon water; brush over tops of loaves.)

5.  Bake for 20 to 25 minutes in the preheated oven, or until golden brown.

Printed from Allrecipes.com

Homemade Frappuccinos……

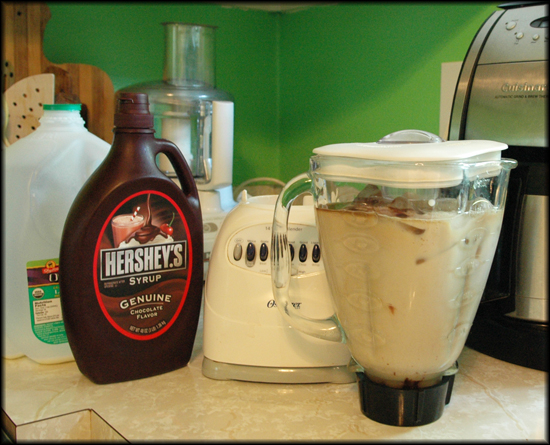
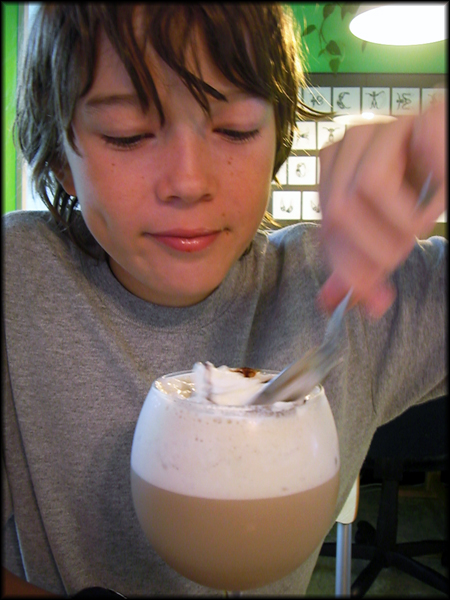
This summer, we’ve been having WAY too many of these!  They are much cheaper to make yourself than going to Starbucks..especially when you are having 3 at a time!  I normally don’t let my children drink coffee..but hey, it’s summer time!

I just add ice, coffee, chocolate syrup, some milk and a tiny bit of sugar…..mix it up in the blender….top with whip cream and add a bit more chocolate or caramel sauce…and you have it….a yummy summer treat!

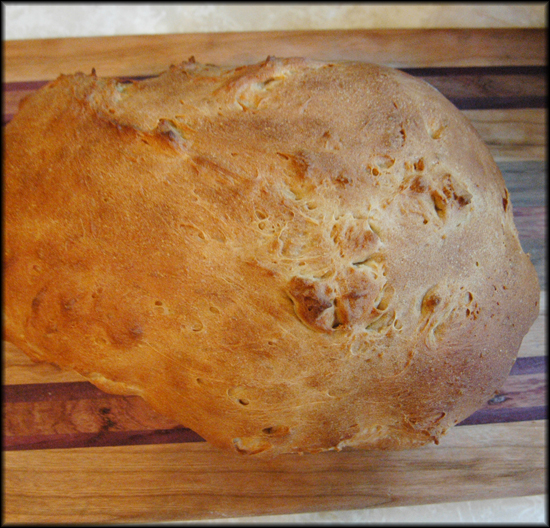
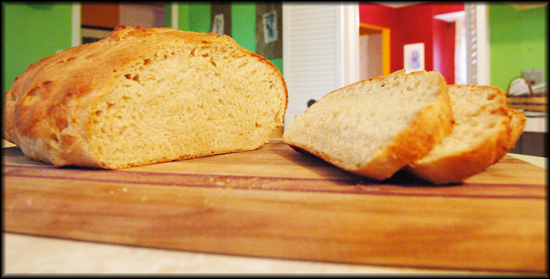
Ciabatta Bread with a bread machine……

I’m into making bread…but using my bread machine.  I’m trying to make all different kinds of breads.  I have perfected my plain rolls and my french bread recipes.

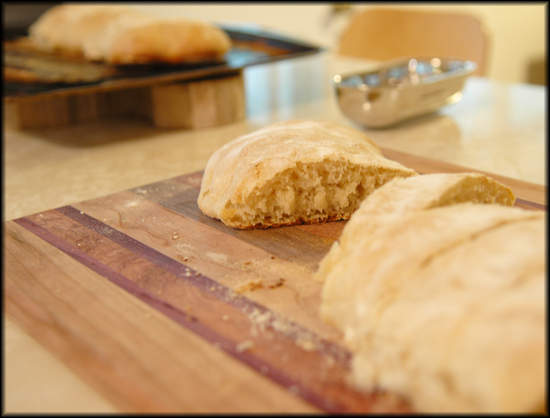
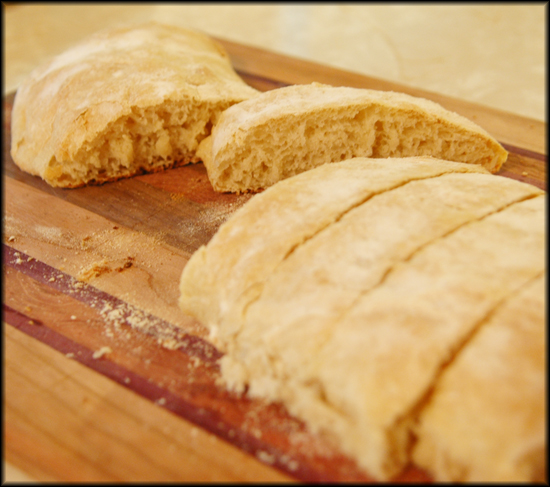
I decided to try Ciabatta bread.  The first recipe I tried is considered for beginners…..next, I will have to try the more complicated version….supposedly using sour dough or “sponge”…..I will keep you posted on the outcomes.

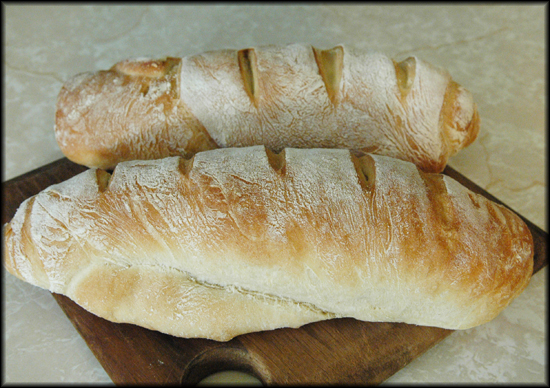
The recipe was incredibly easy…it did say that the dough will be incredibly sticky and runny…and it was!  The bread turned out flat…I don’t know if that was due to the high humidity that day…or just my baking skills..but it was tasty..and as always, much better when eaten fresh!

Ciabatta Bread – Bread Machine Recipe

Ingredients

  • 1 1/2 cups water
  • 1 1/2 teaspoons salt
  • 1 teaspoon white sugar
  • 1 tablespoon olive oil
  • 3 1/4 cups bread flour
  • 1 1/2 teaspoons bread machine yeast

Directions

  1. Place ingredients into the pan of the bread machine in the order suggested by the manufacturer. Select the Dough cycle, and Start.
  2. Dough will be quite sticky and wet once cycle is completed, resist the temptation to add more flour. Place dough on a lightly floured board, cover with a large bowl, and let rest for 15 minutes.
  3. Lightly flour or use parchment lined baking sheets. Divide into 2 pieces, and form each into a 3×14 inch oval. Place loaves on prepared sheets, dimple surface, and lightly flour. Cover, and let rise in a draft free place for approximately 45 minutes.
  4. Preheat oven to 425 degrees F (220 degrees C).
  5. Dimple dough for a second time, and then place loaves in the oven, positioned on the middle rack. Bake for 25 to 30 minutes. During baking, spritz loaves with water every 5 to 10 minutes for a crispier crust.

Shark Cupcakes…..

I had to bake a dessert for a bake sale for my childrens swim team….I couldn’t make something simple..I had to make something fun…..so I did a search on the internet and found these on the Martha Stewart website:

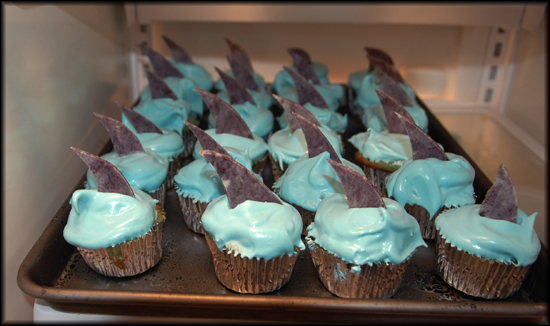
So, I made my own version.  For the cupcakes I used my Simple Cake Recipe, which is one of my favorite recipes!  I wanted to make really fluffy icing….so I find a fluffy white frosting recipe.  It worked out pretty well.  The icing tasted more like a meringue.

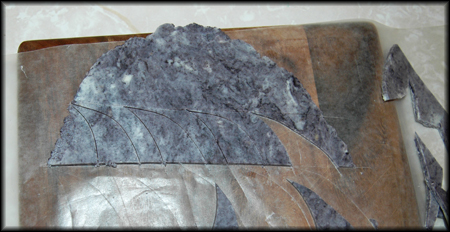
I made the shark fins by melting white chocolate and adding a tablespoon of light corn syrup and some food coloring.  I let it refrigerate for about 3 hours and then cut out the shapes.   All in all, I think they turned out pretty cute and they were a hit….I’d definitely make them again…..though I think I would try to make these from Hello Cupcakes:
FLUFFY WHITE FROSTING (taken from Coleen’s Recipes)
In a large bowl, put two egg whites, a teaspoon of vanilla extract and ¼ teaspoon of almond extract…set aside.

In a saucepan, mix 1 cup of granulated sugar, ¼ teaspoon cream of tartar, dash of salt and 1/3 cup of water. Cook and stir until it just comes to a boil and sugar dissolves.

Start beating your egg whites and extracts on HIGH while you slowly drizzle in the hot syrup. Keep beating on high until stiff peaks form.

With a hand held electric mixer, this can take up to 7 minutes, but with my stand mixer it only takes about 4 minutes. Recipe makes enough to frost a 9″ two layer cake or a 10″ tube cake or 24-36 cupcakes.

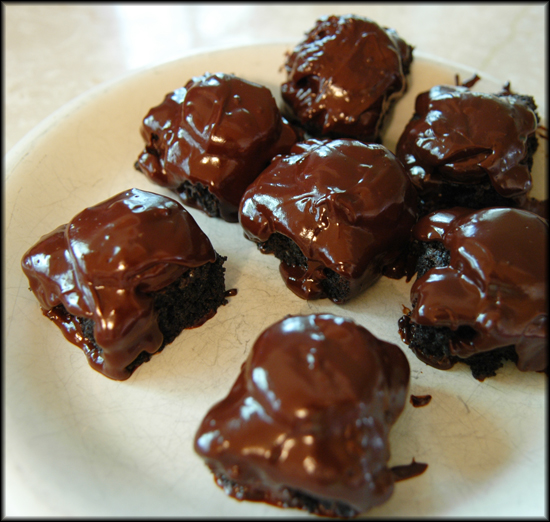
Peppermint Pattie Chocolate Brownie Bars……

So I wanted to make something new and yummy for dessert.  I went through my recipes and couldn’t find anything.

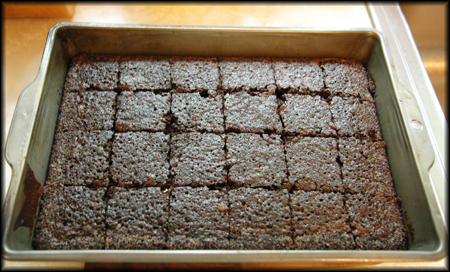
So, first I made my favorite home made brownie recipe.

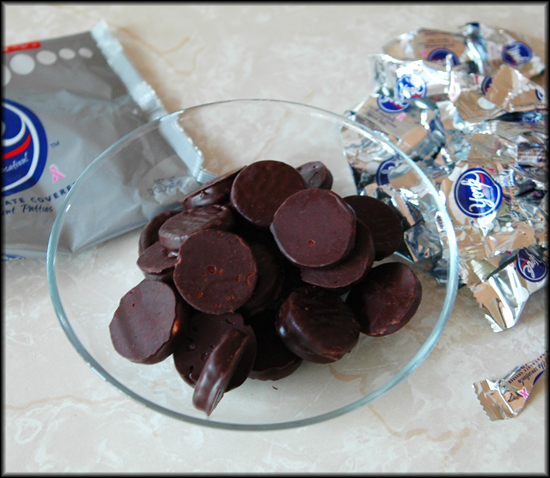
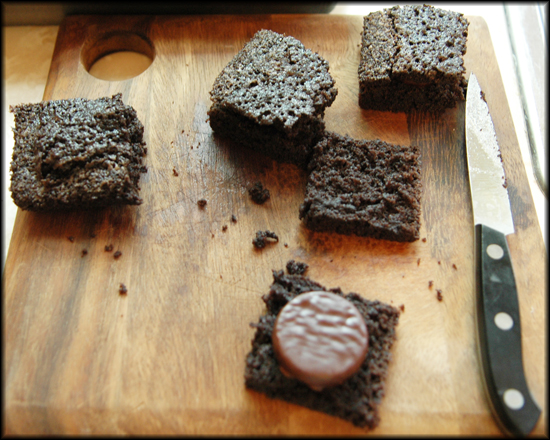
Then, I went to the store and saw Peppermint Patties…I had to get those….so, I thought I would cut up the brownies and insert a Peppermint Patty into each one…..

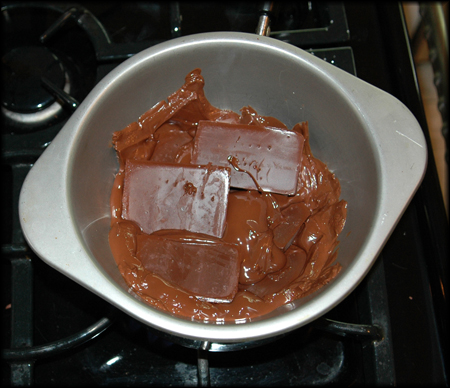
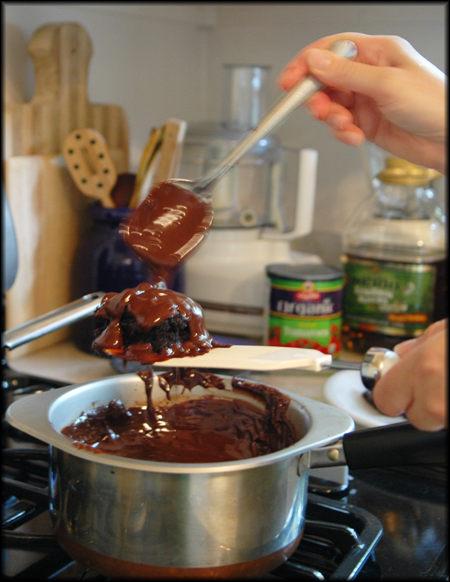
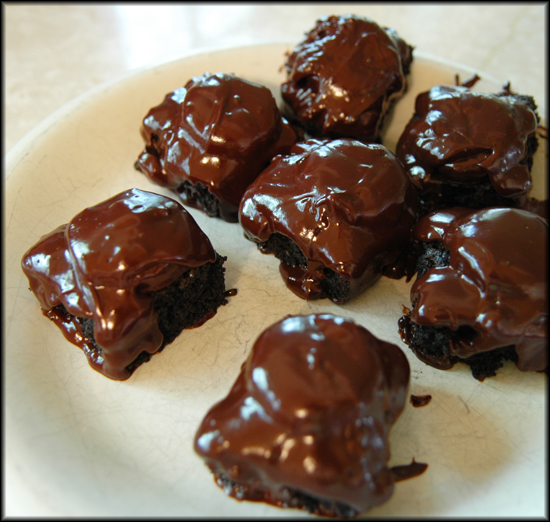
Then I found some delicious Belgium chocolate that a friend had given me….so I melted that…..and began to dip all the brownie things into the chocolate..but that didn’t work..so I ended up just spooning the chocolate over the brownies….

And that seemed to work out pretty well.  Then I stuck them in the refrigerator to harden the chocolate……They were quite yummy!  Have a great weekend!

Deep Fried Oreos…..

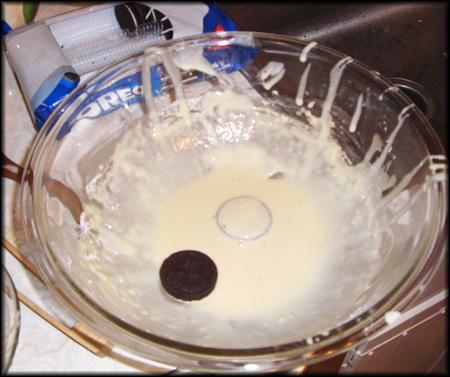
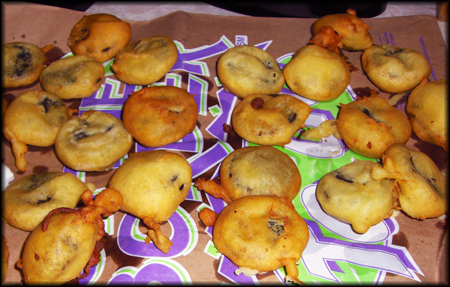
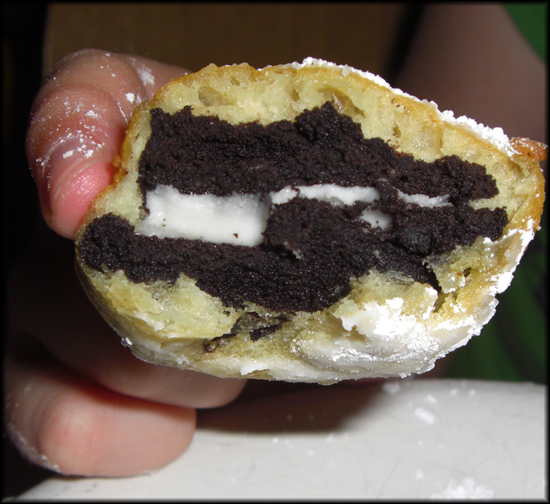
Well, I finally did it…my kids have been wanting to make deep fried oreos for a long time…and we finally made them!  They are one of those things that you know, before you even eat them, that you are going to have a stomach ache when you are done!  I made them with Oreos this time, but next time…I’ll use my favorite Oreo substitute…..Late July Organic Vanilla Bean cookies.  These are one of the best cookies out there!  I think they are better than Oreos and they don’t have all the artificial flavors and  colors or preservatives.  Oreos have so much scary stuff in them..but I caved and used them this time….to see if we had the flavor right….but next time……!!

Anyway, I looked up a bunch of recipes on the internet.  Most of them said to use Bisquick, which I don’t ever use…so I just used my own buttermilk pancake recipe.

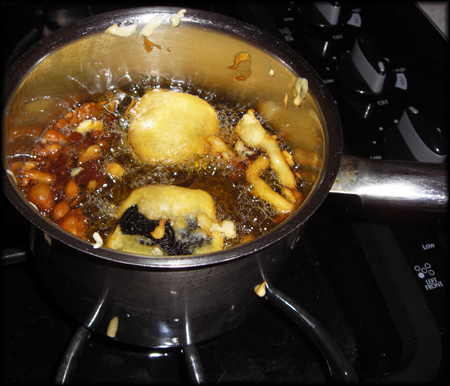
The recipe said to freeze the cookies for three hours ahead of time….so we did that.  Then you heated up the oil (I used about a cup of oil in a small sauce pan) and started dipping the battered cookies into the hot oil…..I did this part..since hot oil is always a bit scary!

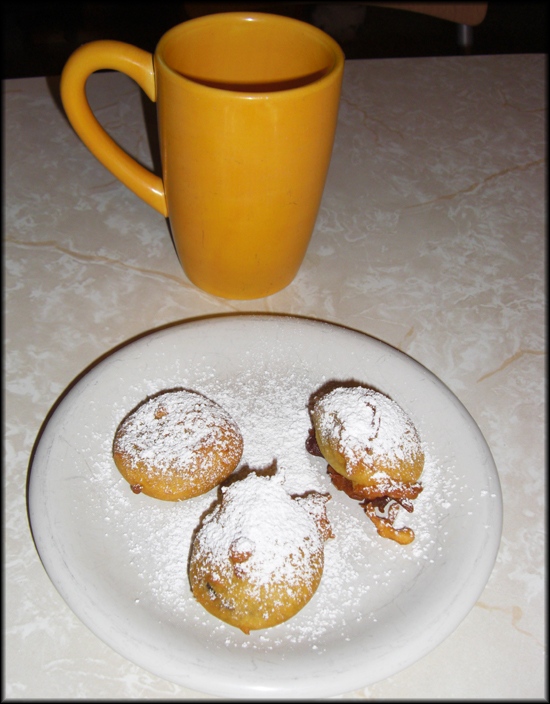
Nothing like frying up some cookies!  Each one had to cook for about a minute on each side.  They instantly looked delicious and disgusting all at the same time!  My kids were so excited..they wanted to instantly start eating them……but of course, I wouldn’t let them!

After we were done frying them all up, to add even more disgusting-ness..you sprinkled them with powdered sugar!  Needless to say, my kids loved them!  Though we aren’t sure how they are going to taste the next day…I wasn’t sure how to store them..in an air tight container or leave them out…..I’ll keep you posted on how the left overs are….

I cut this recipe in half.  It made about 25 cookies.

Favorite Buttermilk Pancakes

2 ½ cups    Flour

4 Tbsp        Sugar

2 tsp           Baking Powder

1 tsp           Baking Soda

2                 Eggs, beaten

2 2/3 cups  Buttermilk

2 Tbsp        Oil

Combine the dry ingredients in a bowl.  Combine the wet ingredients in a bowl and stir well.  Combine bowls together and stir, but do not over-mix.