Shark Cupcakes…..

I had to bake a dessert for a bake sale for my childrens swim team….I couldn’t make something simple..I had to make something fun…..so I did a search on the internet and found these on the Martha Stewart website:

So, I made my own version.  For the cupcakes I used my Simple Cake Recipe, which is one of my favorite recipes!  I wanted to make really fluffy icing….so I find a fluffy white frosting recipe.  It worked out pretty well.  The icing tasted more like a meringue.

I made the shark fins by melting white chocolate and adding a tablespoon of light corn syrup and some food coloring.  I let it refrigerate for about 3 hours and then cut out the shapes.   All in all, I think they turned out pretty cute and they were a hit….I’d definitely make them again…..though I think I would try to make these from Hello Cupcakes:

FLUFFY WHITE FROSTING (taken from Coleen’s Recipes)

In a large bowl, put two egg whites, a teaspoon of vanilla extract and ¼ teaspoon of almond extract…set aside.

In a saucepan, mix 1 cup of granulated sugar, ¼ teaspoon cream of tartar, dash of salt and 1/3 cup of water. Cook and stir until it just comes to a boil and sugar dissolves.

Start beating your egg whites and extracts on HIGH while you slowly drizzle in the hot syrup. Keep beating on high until stiff peaks form.

With a hand held electric mixer, this can take up to 7 minutes, but with my stand mixer it only takes about 4 minutes. Recipe makes enough to frost a 9″ two layer cake or a 10″ tube cake or 24-36 cupcakes.

Peppermint Pattie Chocolate Brownie Bars……

So I wanted to make something new and yummy for dessert.  I went through my recipes and couldn’t find anything.

So, first I made my favorite home made brownie recipe.

Then, I went to the store and saw Peppermint Patties…I had to get those….so, I thought I would cut up the brownies and insert a Peppermint Patty into each one…..

Then I found some delicious Belgium chocolate that a friend had given me….so I melted that…..and began to dip all the brownie things into the chocolate..but that didn’t work..so I ended up just spooning the chocolate over the brownies….

And that seemed to work out pretty well.  Then I stuck them in the refrigerator to harden the chocolate……They were quite yummy!  Have a great weekend!

Deep Fried Oreos…..

Well, I finally did it…my kids have been wanting to make deep fried oreos for a long time…and we finally made them!  They are one of those things that you know, before you even eat them, that you are going to have a stomach ache when you are done!  I made them with Oreos this time, but next time…I’ll use my favorite Oreo substitute…..Late July Organic Vanilla Bean cookies.  These are one of the best cookies out there!  I think they are better than Oreos and they don’t have all the artificial flavors and  colors or preservatives.  Oreos have so much scary stuff in them..but I caved and used them this time….to see if we had the flavor right….but next time……!!

Anyway, I looked up a bunch of recipes on the internet.  Most of them said to use Bisquick, which I don’t ever use…so I just used my own buttermilk pancake recipe.

The recipe said to freeze the cookies for three hours ahead of time….so we did that.  Then you heated up the oil (I used about a cup of oil in a small sauce pan) and started dipping the battered cookies into the hot oil…..I did this part..since hot oil is always a bit scary!

Nothing like frying up some cookies!  Each one had to cook for about a minute on each side.  They instantly looked delicious and disgusting all at the same time!  My kids were so excited..they wanted to instantly start eating them……but of course, I wouldn’t let them!

After we were done frying them all up, to add even more disgusting-ness..you sprinkled them with powdered sugar!  Needless to say, my kids loved them!  Though we aren’t sure how they are going to taste the next day…I wasn’t sure how to store them..in an air tight container or leave them out…..I’ll keep you posted on how the left overs are….

I cut this recipe in half.  It made about 25 cookies.

Favorite Buttermilk Pancakes

2 ½ cups    Flour

4 Tbsp        Sugar

2 tsp           Baking Powder

1 tsp           Baking Soda

2                 Eggs, beaten

2 2/3 cups  Buttermilk

2 Tbsp        Oil

Combine the dry ingredients in a bowl.  Combine the wet ingredients in a bowl and stir well.  Combine bowls together and stir, but do not over-mix.

Pita Bread…..

I’ve always wanted to make homemade pita bread.  So, this weekend, I finally gave it a try.  It wasn’t too difficult..it just involved time, like most bread recipes.   You had to do a bit of stuff and wait….do a bit of stuff….then wait 3 hours…do a bit of stuff and wait…

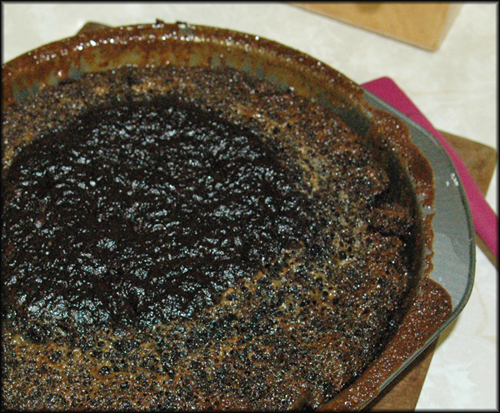
My plan was to make homemade pita bread and then homemade hummus.   I have a delicious hummus recipe that my aunt gave me…but at the last minute I realized I didn’t have enough chick peas…and I really didn’t feel like going out to the store…so I tried to use what I had..but I ended up adding too much tahini paste…oh well.

But I did think the pita turned out nicely.   The first batch..I cooked too long and they are a bit chewy.  I think I will freeze some of them and see how they taste after being frozen.  We like to use them for little mini pizzas when we need a quick meal.

You had to bake them at 500°, so the entire kitchen got incredibly hot…maybe next time I won’t pick a 94° day to make pita!!  Next…I am going to make tortillas……

Pita Bread Recipe

Ingredients:

  • 1 package of yeast, or quick rising yeast
  • 1/2 cup warm water
  • 3 cups all purpose flour
  • 1 1/4 teaspoon salt
  • 1 teaspoon granulated sugar
  • 1 cup lukewarm water

Preparation:

Dissolve yeast in 1/2 cup of warm water. Add sugar and stir until dissolved. Let sit for 10-15 minutes until water is frothy.

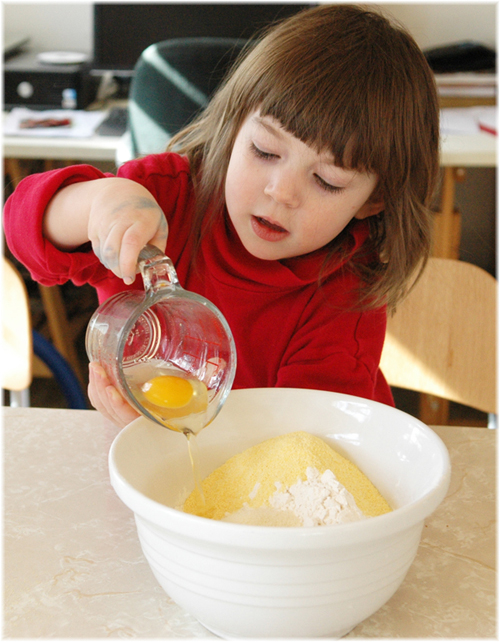
Combine flour and salt in large bowl.

Make a small depression in the middle of flour and pour yeast water in depression.

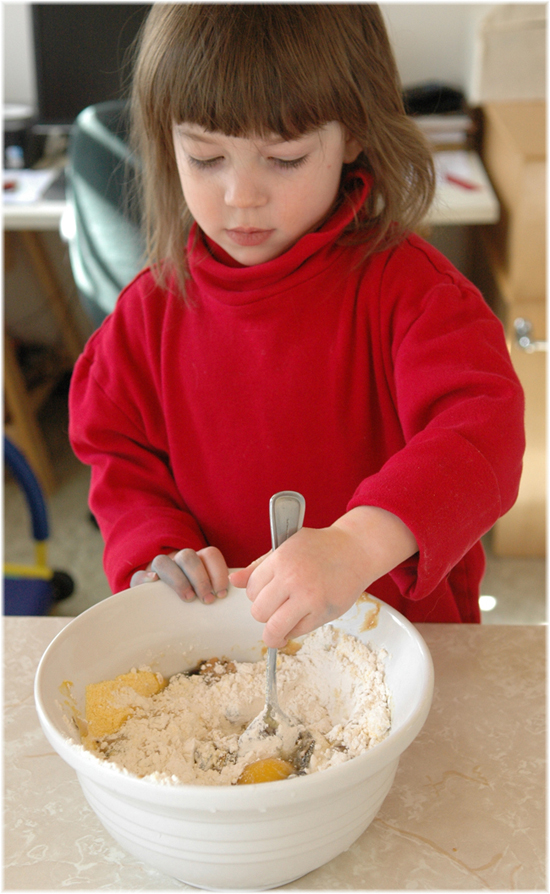
Slowly add 1 cup of warm water, and stir with wooden spoon or rubber spatula until elastic.

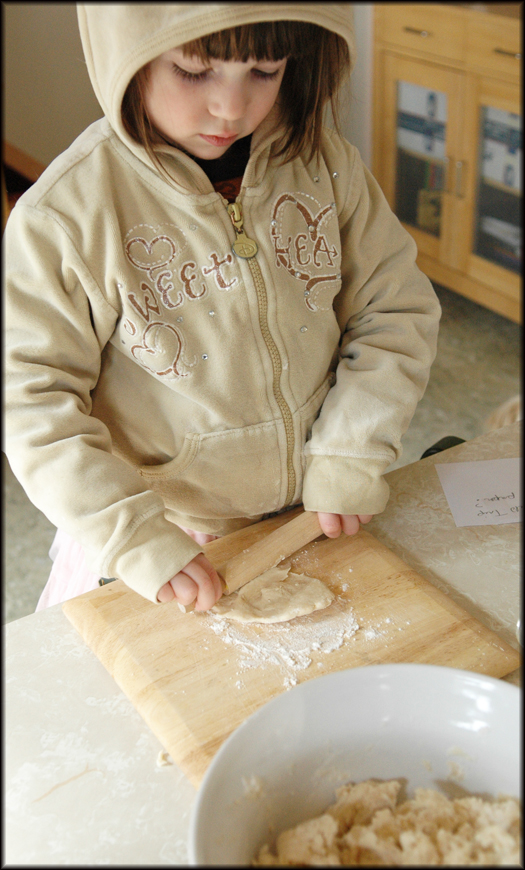
Place dough on floured surface and knead for 10-15 minutes. When the dough is no longer sticky and is smooth and elastic, it has been successfully kneaded.

Coat large bowl with vegetable oil and place dough in bowl. Turn dough upside down so all of the dough is coated.

Allow to sit in a warm place for about 3 hours, or until it has doubled in size.

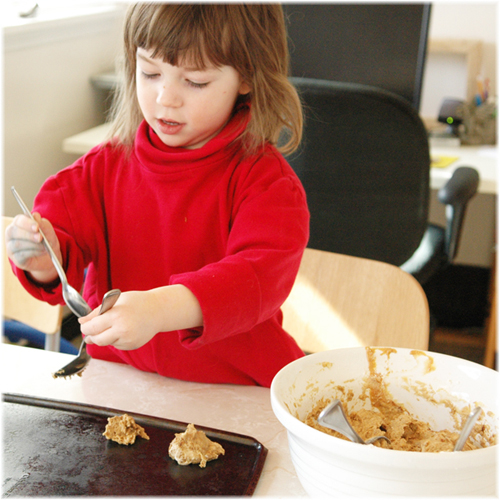
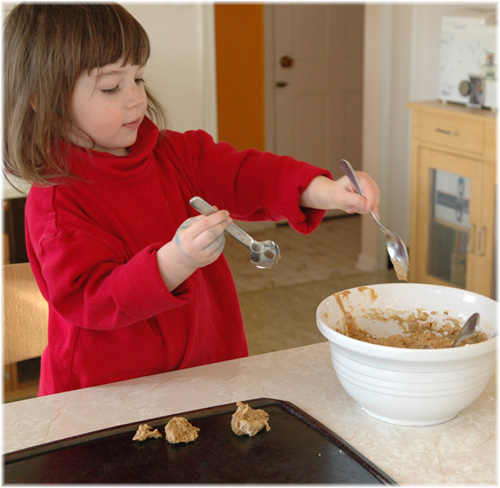
Once doubled, roll out in a rope, and pinch off 10-12 small pieces. Place balls on floured surface. Let sit covered for 10 minutes. Preheat oven to 500 deg F. and make sure rack is at the very bottom of oven. Be sure to also preheat your baking sheet.

Roll out each ball of dough with a rolling pin into circles. Each should be about 5-6 inches across and 1/4 inch thick.

Bake each circle for 4 minutes until the bread puffs up. Turn over and bake for 2 minutes.

Remove each pita with a spatula from the baking sheet and add additional pitas for baking.

Take spatula and gently push down puff. Immediately place in storage bags.

Aunt Loretta’s Hummus Recipe

  • 1 package of yeast, or quick rising yeast
  • 1/2 cup warm water
  • 3 cups all purpose flour
  • 1 1/4 teaspoon salt
  • 1 teaspoon granulated sugar
  • 1 cup lukewarm water

Aunt Loretta’s Hummus Recipe

  • 2 cups cooked chick peas
  • 4 to 5 garlic cloves, mashed
  • 1/2 cup tahini paste
  • 1 teaspoon salt
  • 1 lemon
  • 2-6 teaspoons water

Add all in food processor and blend til paste.  Garnish with paprika and parsley.

For Baba Ganoush  –   follow same recipe but use eggplant instead of chick peas and no water

Banana bread and pasture raised eggs…..

My daughter loves banana bread, so I am always looking at new recipes.  I think I finally found my favorite!  And I think it is all about the eggs!  I found a recipe on the internet called Mrs. Hockmeyer’s Banana Bread, which, when you do a search on the internet for it..you find a million different sites that have the same recipe..so it must be good!

I have been searching for a store that carried pasture raised eggs..and I am so excited that Whole Foods has them!  They come from Vital Farms which raises their chickens outside, on organic pastures.  There are no cages and everything is organic!  I love that and I think the eggs taste better!  Yes, they cost more..but I think it is completely worth it!

The banana bread recipe was so simple….River was able to help me with the entire process.  And it tasted wonderful…except my other daughter, Tuesday, told me I forgot the chocolate chips!

Mrs. Hockmeyer’s Banana Bread Recipe

Ingredients

  • 3 or 4 ripe bananas, smashed
  • 1/3 cup melted butter
  • 3/4 cup sugar
  • 1 egg, beaten
  • 1 teaspoon vanilla
  • 1 teaspoon baking soda
  • Pinch of salt
  • 1 1/2 cups of all-purpose flour

No need for a mixer for this recipe. Preheat the oven to 350°F (175°C). With a wooden spoon, mix butter into the mashed bananas in a large mixing bowl. Mix in the sugar, egg, and vanilla. Sprinkle the baking soda and salt over the mixture and mix in. Add the flour last, mix. Pour mixture into a buttered 4×8 inch loaf pan. Bake for 1 hour. Cool on a rack. Remove from pan and slice to serve.

Multigrain Bread…

So the other day I went to Whole Foods Market (gotta love that place!) and in the bulk section, I found organic 7 grain cereal.  It was only thirty-nine cents a pound!  It looked perfect for making multigrain bread.

Of course, I wanted to use my bread machine, so I used the recipe from the bread machine recipe book..I figured I would start with that and see how it turned out….well, I think it turned out really well.

As soon as it came out of the oven, we all wanted a piece, which I think is always a mistake..it seems like those types of bread always have to sit for a bit…at least twenty minutes.

Multigrain Bread (large loaf bread machine recipe)

1 ¼ cups water

2 tablespoons butter, softened

1 1/3 cups white flour

1 1/3 cups whole wheat flour

1 cup 7 grain cereal

3 tablespoons packed brown sugar

1 ¼ teaspoons salt

3 teaspoons regular active dry yeast

Homemade Sweet Potato Gnocchi…..

For a wedding gift, almost 15 years ago, we received a past maker.  Honestly, I used it ONCE in all these years….but recently I’ve been giving it another try.  The one time I tried it, I didn’t have much luck..but hey, it’s been 15 years..why not give it another try!

So, the other night we had some left over sweet potatoes..and they were delicious and I thought..what can I do with one sweet potato?  Well, why not make some sweet potato gnocchi?  My daughter loves gnocchi…..so I got out the pasta maker and within an hour we had fresh pasta!

It wasn’t hard at all….a bit noisy, but not hard at all!  And hey, who doesn’t love fresh pasta?

I’m sure you could make it even without a pasta maker…but I took the easy route.  The recipe was five ingredients:  1 egg, 1 tbsp. olive oil, 4 cups of flour, 6 ounces of water, and the sweet potato….that’s it…I put all the ingredients into the pasta maker and it mixed them all up and out came gnocchi!  And of course, I had to make a loaf of homemade french bread!

I think I’m a believer in fresh pasta.  This might become dangerous!

Mini veggie pot pie……

2010-03-05a.JPG

Keeping with the theory that if you get your child involved with the cooking, they will be more inclined to like the food….I had River make her own mini veggie pot pie.  We made the dough and she rolled it out herself with her own rolling pin.

2010-03-05b.JPG


2010-03-05c.JPG

She picked out exactly which veggies she wanted..only potatoes and carrots..no asparagus, peppers, broccoli, or celery…

2010-03-05d.JPG

Then she added the white sauce, which she loved and wanted to taste again and again…..

2010-03-05e.JPG

Then she got to roll out more dough and put the top on her little pie….

2010-3-05f.JPG

She was so proud of it when she was done….she couldn’t wait to cook it…..

2010-03-05g1.JPG

And then eat it…. and it was finally done and ready to eat…..

2010-03-05h.JPG

And she wouldn’t even look at it..she refused to eat it….okay, she took one little bite and said…yuck!  And asked for a banana instead!

2010-03-05i.JPG

Dog Cookies…….

2010-02-16a1.JPG


Basic Dog Treat Recipe


2 cups whole wheat flour

½ cup cornmeal

2/3 cup veggie broth

6 tablespoons vegetable oil


Optional:  wheat germ, egg, molasses, honey, peanut butter….add more veggie broth as needed


1.  Mix all ingredients together.

2.  Drop onto greased cookie sheet using spoon

3.  Bake 350 F for 10-12 minutes.


2010-02-16b1.JPG


Okay, these don’t LOOK pretty..but the dogs LOVE them….and they are EASY!


2010-02-16c.JPG


2010-02-16d.JPG


2010-02-16e.JPG

 Did I mention that the dogs LOVE them….


2010-02-16f.jpg


Don’t forget to go over to Loves Jurn3 to enter the giveaway for a free custom woolie!

Who knew dry milk has an expiration date…..

2010-01-27a.JPG

So yesterday I decided to be a wonderful mother and bake a wonderful and delicious homemade cake.  I found a great recipe…..Praline Turtle Cake…I know my kids don’t like pralines..so I figure I would just omit the pralines….

2010-01-27b2.JPG

The recipe called for sweetened condensed milk…well, I didn’t have any..but I think no problem..I have a recipe for a “substitute”  for sweetened condensed milk…which calls for instant dry milk. So, I get out my instant dry milk and whip it up…..I had to melt the “sweetened condensed milk”, butter and brown sugar in a pot……no problem..though I do notice a strange smell….

2010-01-27d.JPG

Then I proceed to make the actual batter..which smells and looks delicious.  River is eager to help me out.  I do notice that many many dishes are getting dirty..but I know it will be worth it when my children see this wonderful cake that I made for them…

2010-01-27f.JPG

The next thing is to pour the batter into the cake pans, on top of the melted carmelized goo….interesting…….so, that is what I do and pop it into the oven….umm..still a strange little smell…..

2010-01-27c2.JPG

Well, in a few minutes I start to notice a smell…. and I mean a horrid smell…..a smell liked burned milk that has gone bad….a long time ago…..so I walk into the kitchen and it is filling with smoke…..(believe me, I tried to get photos, but they just didn’t turn out!)…well, the cake is bubbling over…all over the oven..and is smoking and smoking and carmelizing and smelling..but I must finish this cake..so I have to keep the oven on until the cake is done!  I just keep thinking how happy my children will be when they see this delicious cake……

2010-01-27e.JPG

Well, the timer goes off and the cake is done….. it’s not pretty!  And the smell is horrid….At this point, I’m getting worried that something went horribly wrong…..of course by now, I have had to open every window in the house and I’m trying to fan all the smoke detectors!  The recipe says to wait ten minutes and then get the cakes out of the pans..(Yes, I am still holding out for hope!)  So, I wait the ten minutes and then take the dumb things out of their pans…and if the smell wasn’t bad already…it now hits me in the face like a piece of wet bologna (and I’m a vegetarian)!

2010-01-27g.JPG

Okay.. so the cake ended up in the sink..along with all the dirty dishes….I then turned to the box of nonfat instant dry milk…..I mean, I didn’t know it could go bad…….the expiration date….1993!!!!

2010-01-27h1.JPG