

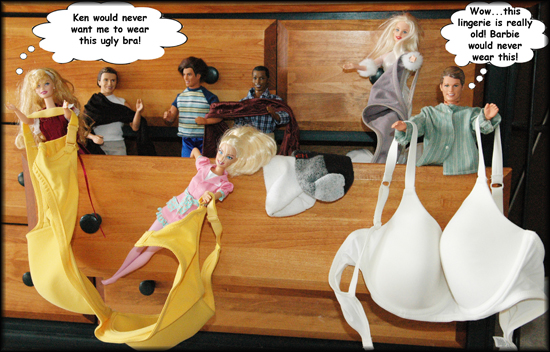
I always like to enter a good contest..though I don’t do it very often. I like it if I have a chance to win. There is a company called HerRoom and they are having a photo contest. You had to take a picture of your lingerie drawer to try to win a lingerie “makeover.” Well, who wants to take a picture of their underwear drawer and enter it on a site’s Facebook page for all to see??? Not me…but hey, for a chance to win $400 worth of lingerie…why not?? Plus, they say to be creative and funny…which no one ever is……so that is when I think I have a chance to win! So, here is my creative photo of my underwear drawer. I decided to invite some Barbies and Kens into my drawer and have some fun! I hope I win!!
Month: January 2011
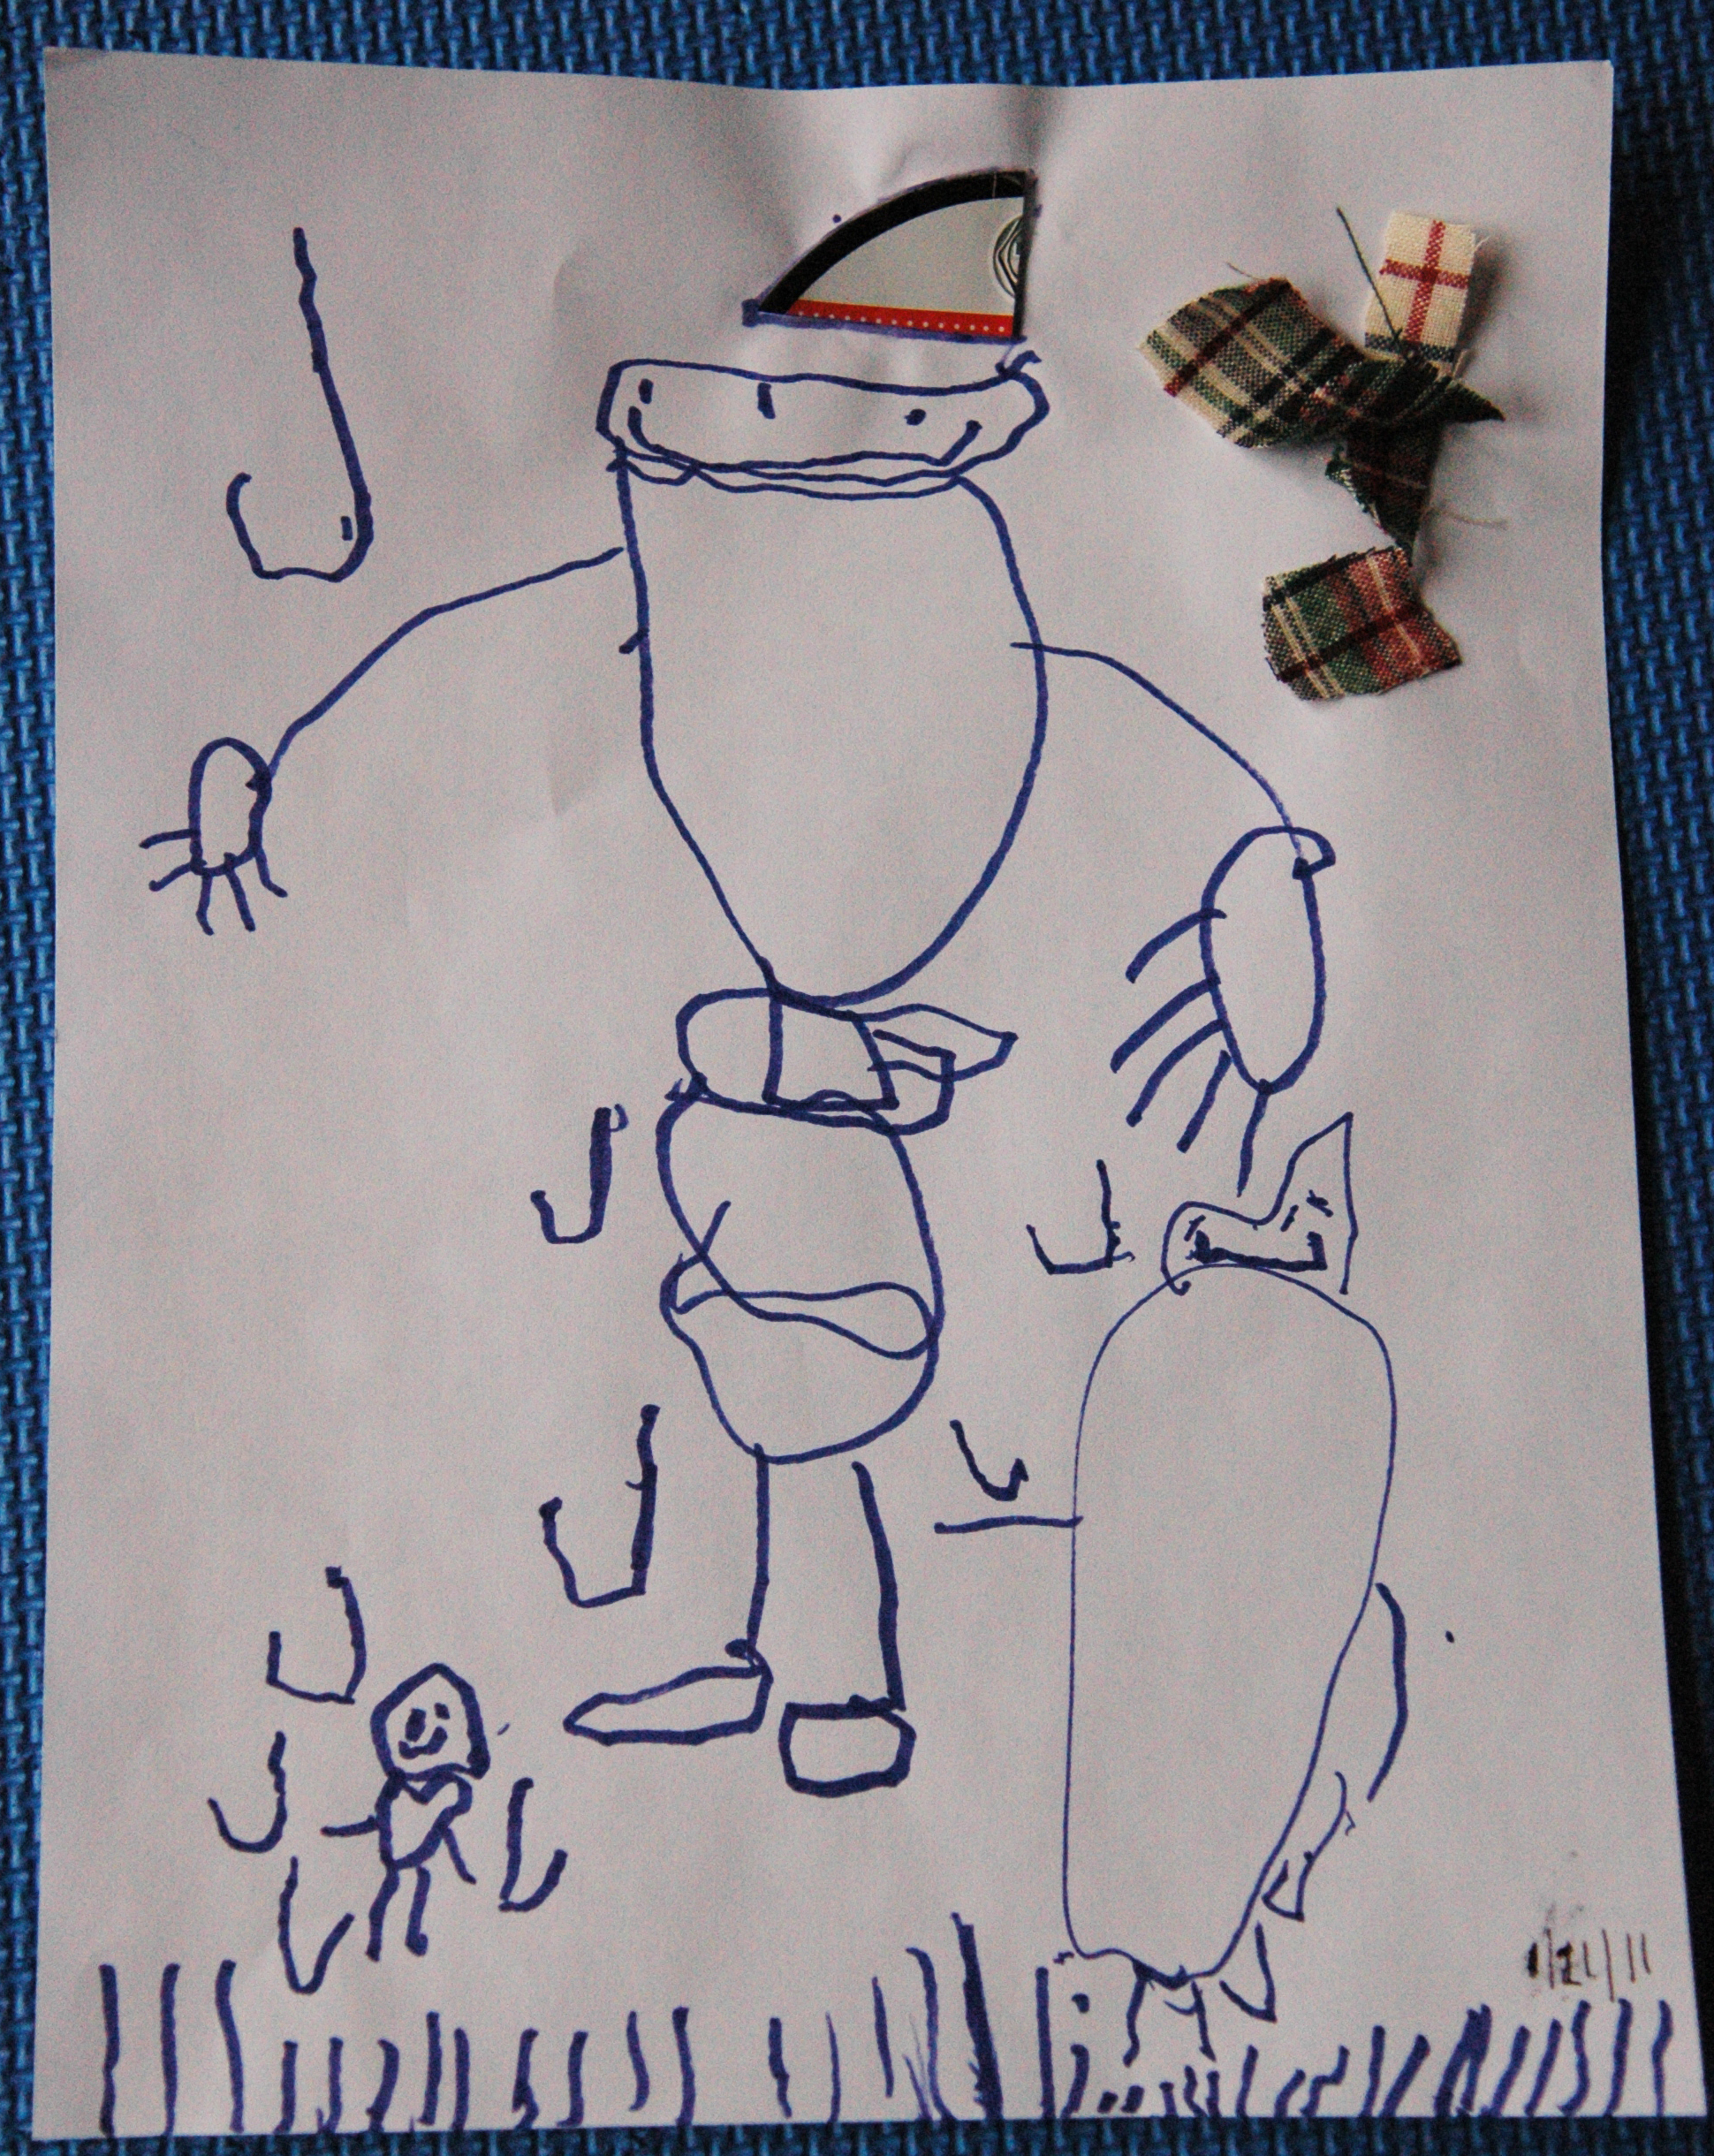
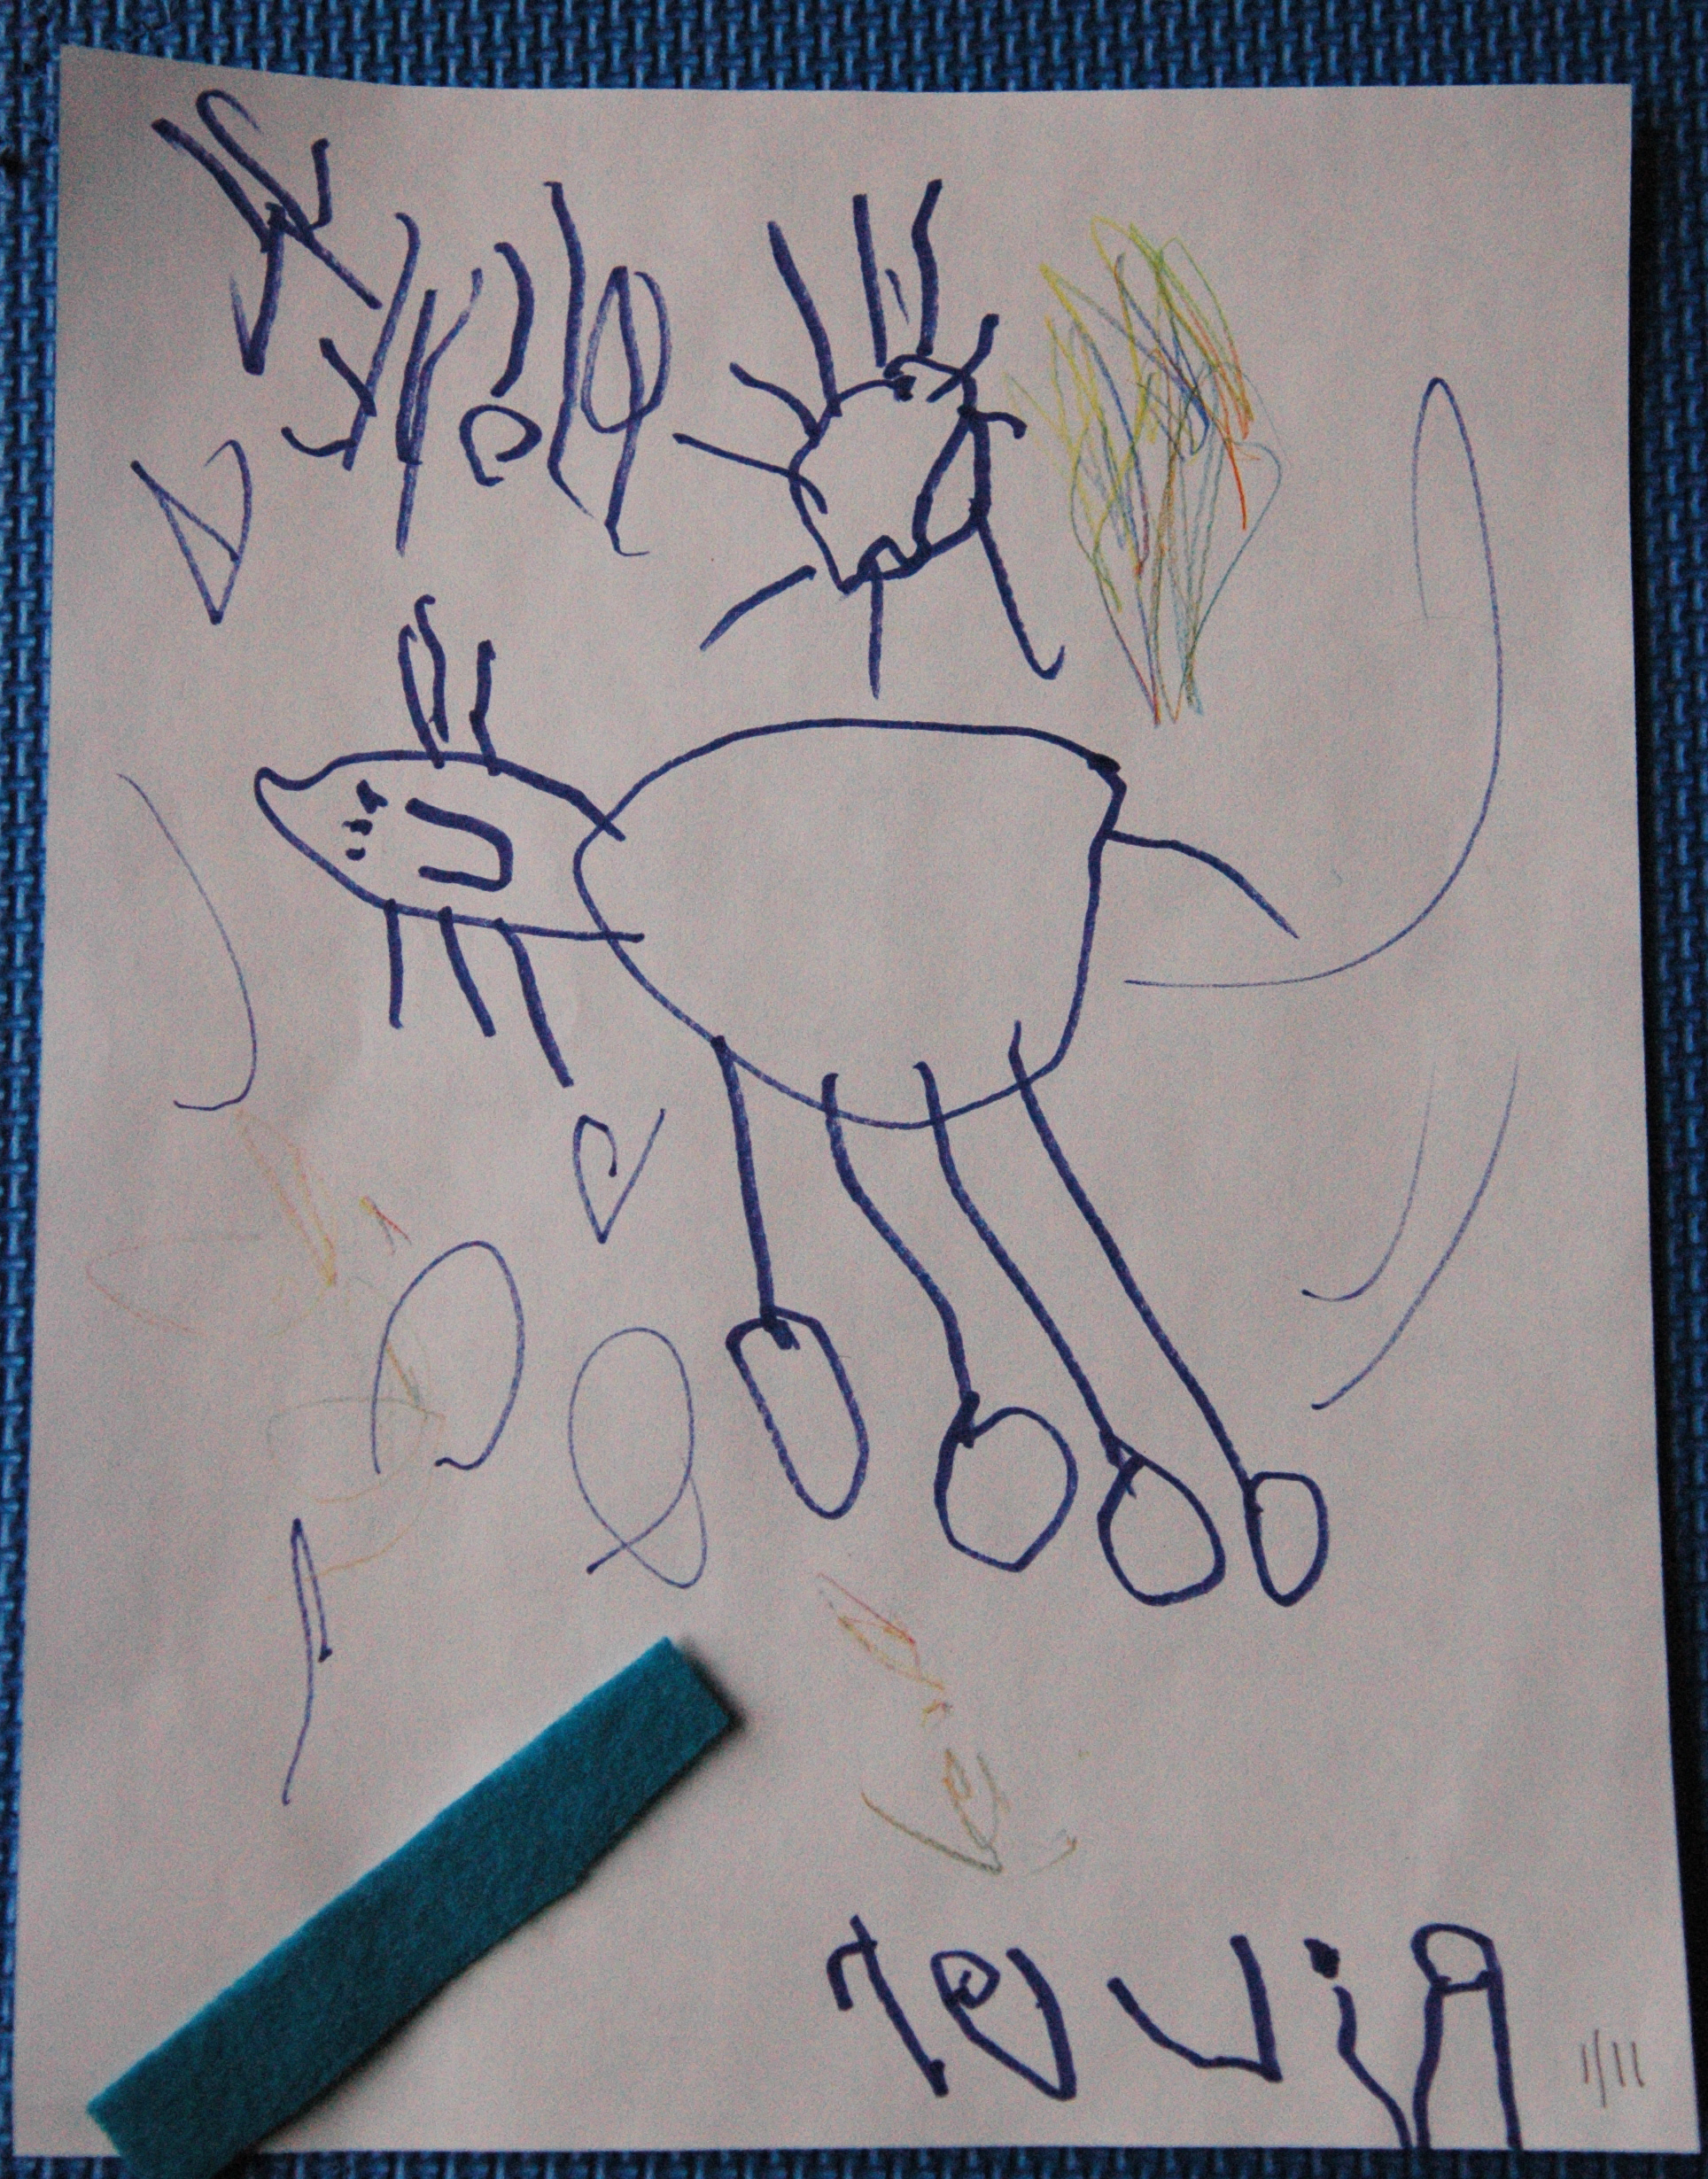
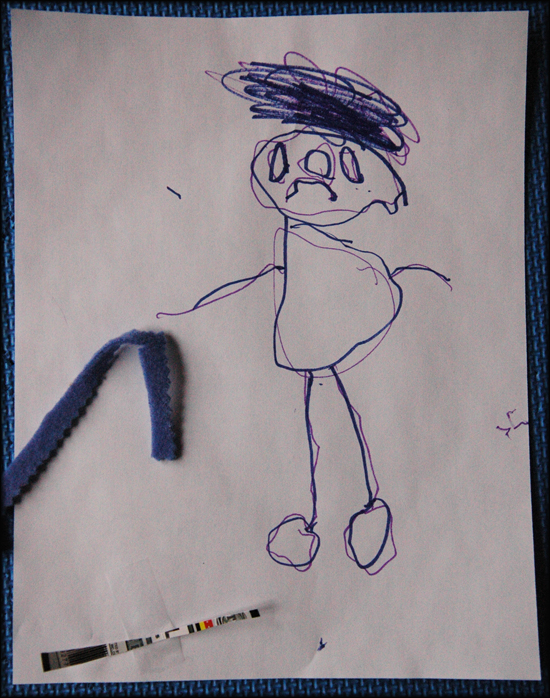
River’s Latest Drawings…..

I love watching the drawing development in my children as they get older. River is definitely in that pre-schematic stage. Her drawings have gotten more complex. And I love how her latest “thing” is that she adds a little bit of cloth or paper scrap to all her drawings. And she loves to describe the drawings to me in great detail. Usually, she makes me write everything she says right on the paper. ..though for these..she let me skip that!


Paper Mache Dragon craft project…..

When Tuesday and Quinn were about River’s age, they took an art class. One of the projects they made was a dragon. They turned out so cute and we still have them…..so River decided she wanted to make one.

The first thing you need to do is get some supplies together. You need two toilet paper rolls or one paper towel roll, 3 small paper cups, some newspaper, a cardboard egg carton and brown masking tape. First, if you are using toilet paper rolls, you need to tape them together. Then, cut off a section of the egg carton and tape it to the toilet paper rolls.

Next, you need to tape two of the small paper cups to the bottom portion of the dragon. These will be the legs, so make sure that they are level, so the dragon can stand. One of the paper cups, you have to cut a mouth out and tape that to the front part of the dragon. Don’t be afraid to use lots of tape to secure it well.

Now you are ready for the tail. Just grab a bit of newspaper….make it into a tail shape….shove it into the other end of the toilet paper rolls and then tape it all together! Congratulations, you’ve finished the first part!

Now for the beginning of the messy stuff…paper mache! There are a lot of different paper mache recipes out there..but I keep it simple..just flour and a little bit of water..mix until it is a thick paste. Get some newspaper strips and you are ready to go!

Your little one may need help covering the whole dragon. But I know they’ll have fun with this part! Cover the whole dragon with strips of paper dipped in the paper mache.

Then wait til it dries. After it dries….about 24 hours..you are ready to paint your dragon. Grab whatever paints you like to use…I like acrylic….and let your little one paint away!


When the paint dries…..your dragon is ready for its final touches……whatever your little one would like to add..buttons, ribbons, feathers, glitter, googly eyes…whatever is in your craft cabinet! Let it dry and enjoy! Oh, and don’t forget a little tissue paper in the mouth…for the fire!


This Moment…..

{this moment} – A Friday ritual. A single photo – no words – capturing a moment from the week. A simple, special, extraordinary moment. A moment I want to pause, savor and remember.
Have a wonderful weekend…..
*Inspired by SouleMama
Embrace the Camera….

So for today’s Embrace the Camera…I decided to just grab my camera and snap some shots of myself….I told myself I had to put them up..no matter what…..
And I really like how they turned out..especially since River is in the background, crafting…..


Go get inspired and Embrace the Camera!

Harry Potter boxes..

About four years ago, for Easter, my husband and I made Tuesday and Quinn Harry Potter boxes. They used to play a Harry Potter card game that involved a lot of cards…and they needed somewhere to keep their sorted cards.

We couldn’t find anything that was exactly what we wanted..so my husband came up with a design to make our own boxes. He did all the wood work…I just did the dremeling and painting. First, I dremeled out the design and then I painted the boxes using acrylic paint.

Then they got a coat of polyurethane to protect the paint. I love how they turned out and the kids loved them. Though they don’t play the card game anymore….they are still nice boxes…..


Embrace the Camera..with books

Reading with River is one of the best parts of the day….all day long…she brings me books to read to her….I try to never say no…it is such a simple thing..yet, so important.

Lincoln logs on a snowy day…..

Well, the snow has fallen outside and I said we weren’t playing in the snow until after lunch….so what was River to do? Play Lincoln logs…..once she figured out how to build with them..she had a great time….creating a little playground….


After lunch….it is out in the snow..and then maybe we’ll make some chocolate chip cookies!
Turning Eleven……

Over the weekend….we had another birthday….I can’t believe Quinn is eleven!! We had a lovely weekend with lovely birthday celebrations……
This moment……

{this moment} – A Friday ritual. A single photo – no words – capturing a moment from the week. A simple, special, extraordinary moment. A moment I want to pause, savor and remember. If you’re inspired to do the same, leave a link to your ‘moment’ in the comments for all to find and see.
**Inspired by SouleMama…..